
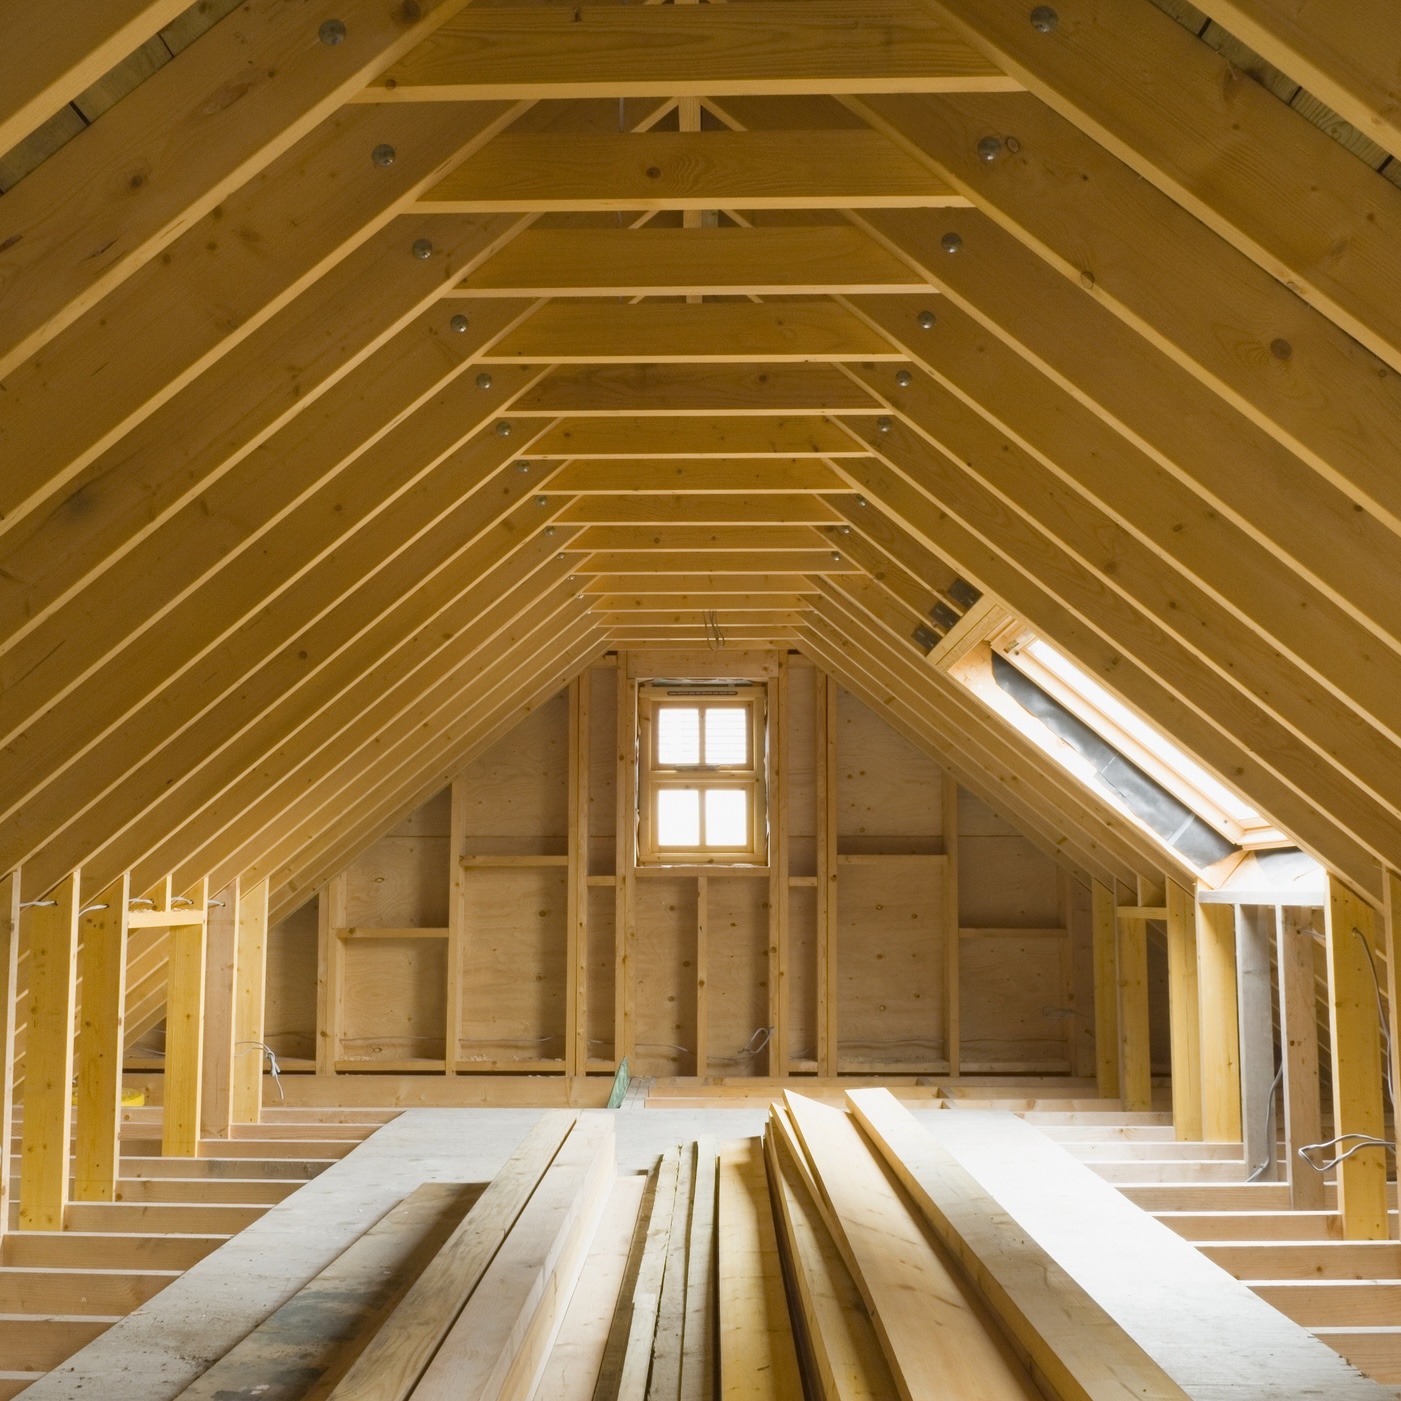
Many homes in the Kitchener-Waterloo Region struggle with uneven temperatures, winter drafts, or attic moisture. While adding insulation seems like the obvious fix, it cannot stop heat loss if warm air is actively leaking from your living space into the attic.
This hidden air movement creates a cycle of energy loss and potential structural damage. To protect your home, it is helpful to first understand the value of balancing insulation and ventilation for roof maintenance. However, even the best insulation and ventilation cannot perform correctly if small openings around pipes, wiring, and lighting fixtures are left open.
That is why air sealing an attic before insulating is a logical first step. Once these pathways are closed, your insulation and ventilation can perform as intended. For more context, explore our guides on signs of poor attic ventilation and attic ventilation and insulation basics.
The guide below focuses on practical checks you can safely complete yourself, with clear “stop” points for professional intervention. By the end, you’ll understand how the process of air sealing your attic secures your home’s thermal envelope and how to approach the task safely.
Why You Should Air Seal Your Attic Before Insulating
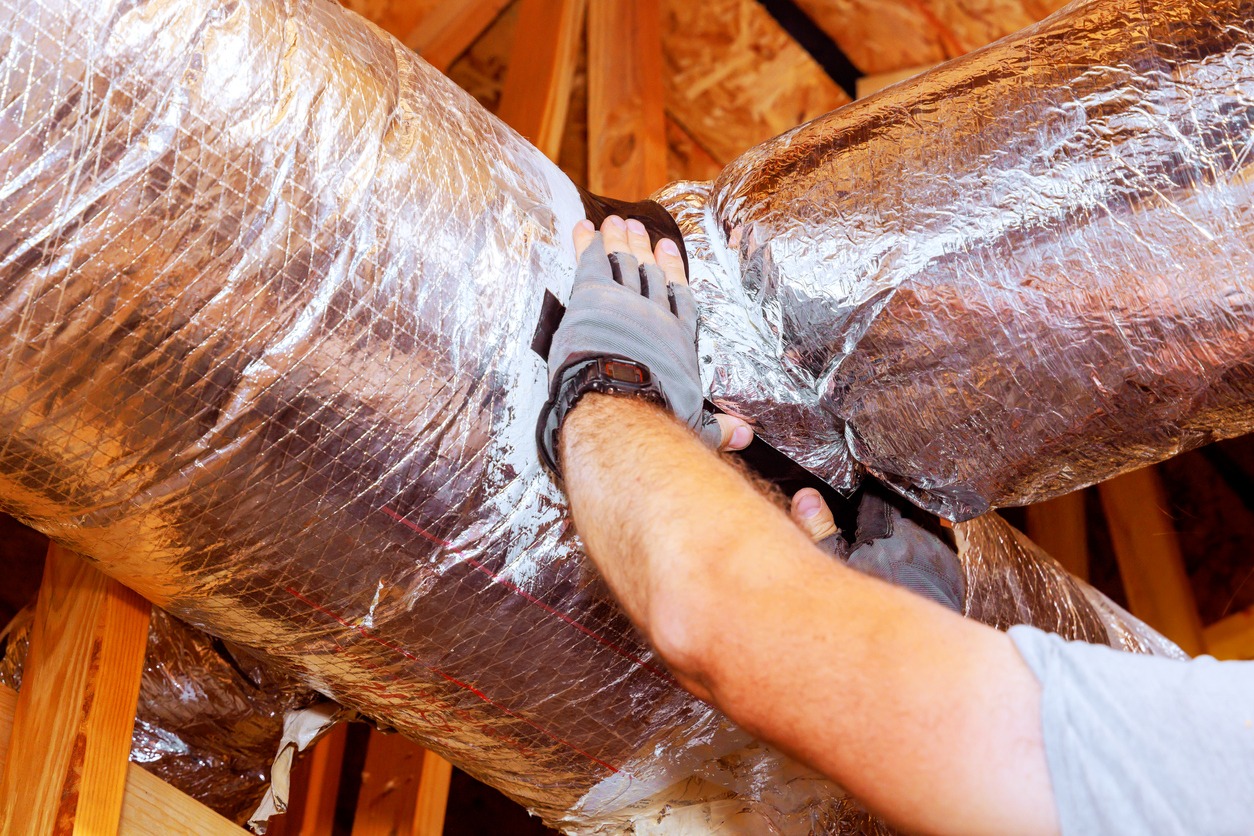
Air sealing an attic before insulating it involves closing the small gaps that allow conditioned indoor air to escape into the unconditioned attic. Because warm air naturally rises, even tiny openings between your ceiling and the attic floor act like a series of small chimneys. This creates a draft that constantly pulls expensive heated air out of your living space.
In many homes, these openings, commonly known as attic bypasses, are hidden beneath existing insulation.
Typical sources of these leaks include:
- Wiring holes drilled through wood framing
- Plumbing pipes passing through ceilings
- Gaps around recessed lighting and electrical boxes
- The attic access hatch
When these pathways remain open, insulation cannot perform as intended because warm air simply flows through or around the material. By identifying the right attic bypasses to seal, you can stabilize indoor temperatures and reduce the risk of moisture-driven issues, such as mold or ice dams, during our cold Ontario winters.
Tools And Supplies For Air Sealing Your Attic
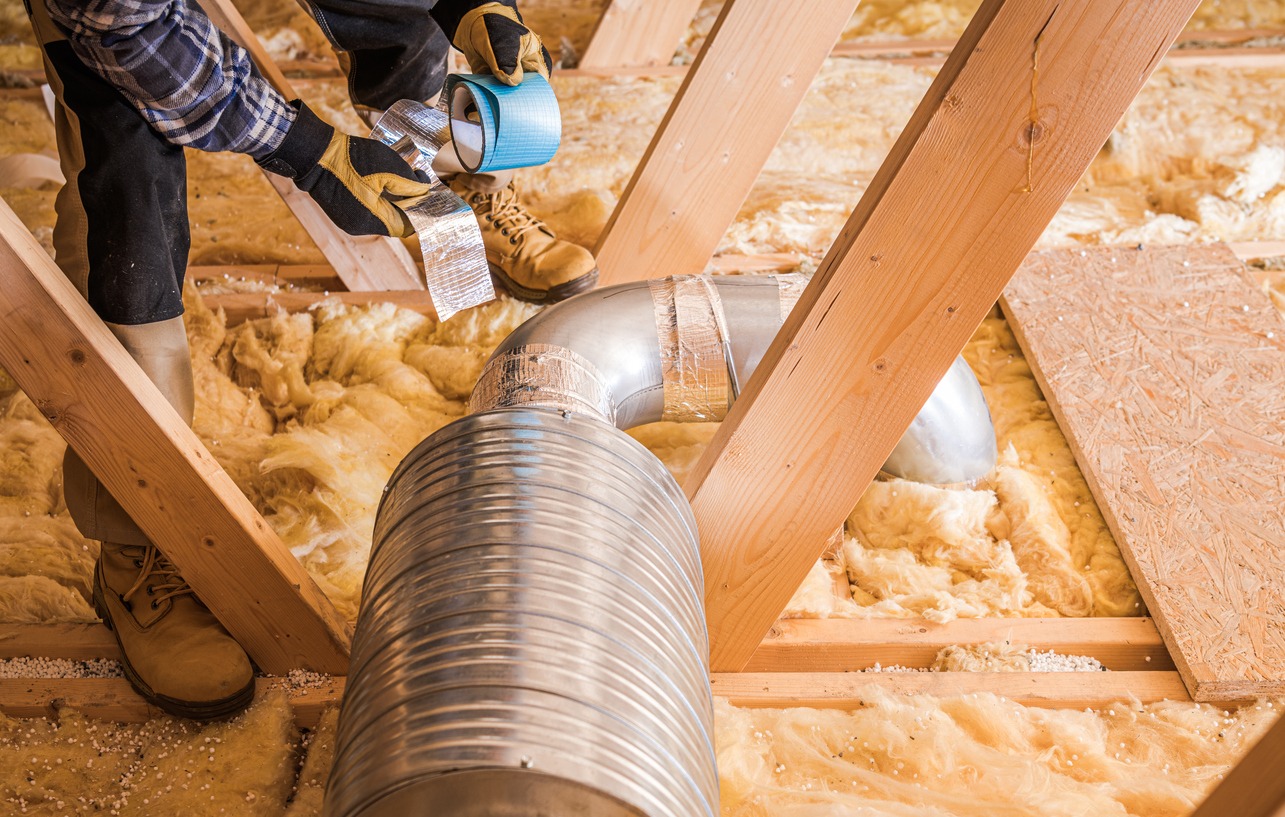
Before opening your attic hatch, prioritize your safety. Attics are tight, dark spaces with specific hazards. Always move carefully, stepping only on sturdy joists—never on the drywall—and avoid disturbing any electrical wiring or ductwork.
To stay organized, use this attic air sealing checklist to gather your materials before you begin. Most minor sealing tasks require items that are readily available at your local hardware store.
- Personal Protective Equipment (PPE): Work gloves, long sleeves, and an N95 dust mask to protect against insulation fibers.
- Reliable Lighting: A bright flashlight or a hands-free headlamp.
- Sealing Materials: Cans of expanding spray foam for larger gaps and a caulking gun for smaller cracks.
- Hatch Supplies: Durable weatherstripping tape and a utility knife.
- Markers: A roll of painter’s tape to flag leak locations during your initial walkthrough.
Once you have your gear, you can move on to identifying which leaks are safe for a DIY fix.
Step 1: Identify Hidden Air Leaks (Attic Bypasses)
The first step is identifying where your living space is losing air. These “bypasses” are the specific points where heat escapes directly past your insulation, rendering it less effective.
Begin by scanning the attic floor for any spot where a utility or fixture passes through the ceiling below. Focus your search on:
- Pipes and electrical wires entering the attic
- Gaps between drywall and wood framing
- Holes around vent ducts and lighting fixtures
A simple trick is to turn off the attic lights and look for light “bleeding” through from the rooms below. Light shining upward often indicates a significant air gap. You should pay close attention to areas above bathrooms, kitchens, and laundry rooms, as these spots frequently contain the most plumbing and electrical penetrations.
As you flag these locations with your painter’s tape, use this quick guide to decide if you should proceed or pause:
- Proceed if: The gap is small (like around a single wire or pipe), easy to reach, and the surrounding area is dry and clear of messy wiring.
- Pause and call a pro if: You find damp insulation, mold, frayed wires, or large structural openings. These often require professional repair or specialized fire-blocking materials.
By marking these attic bypasses to seal now, you can tackle the safe tasks efficiently and prepare an informed list of concerns for a professional regarding the more complex issues.
Step 2: Seal The Attic Hatch And Weatherstripping Gaps
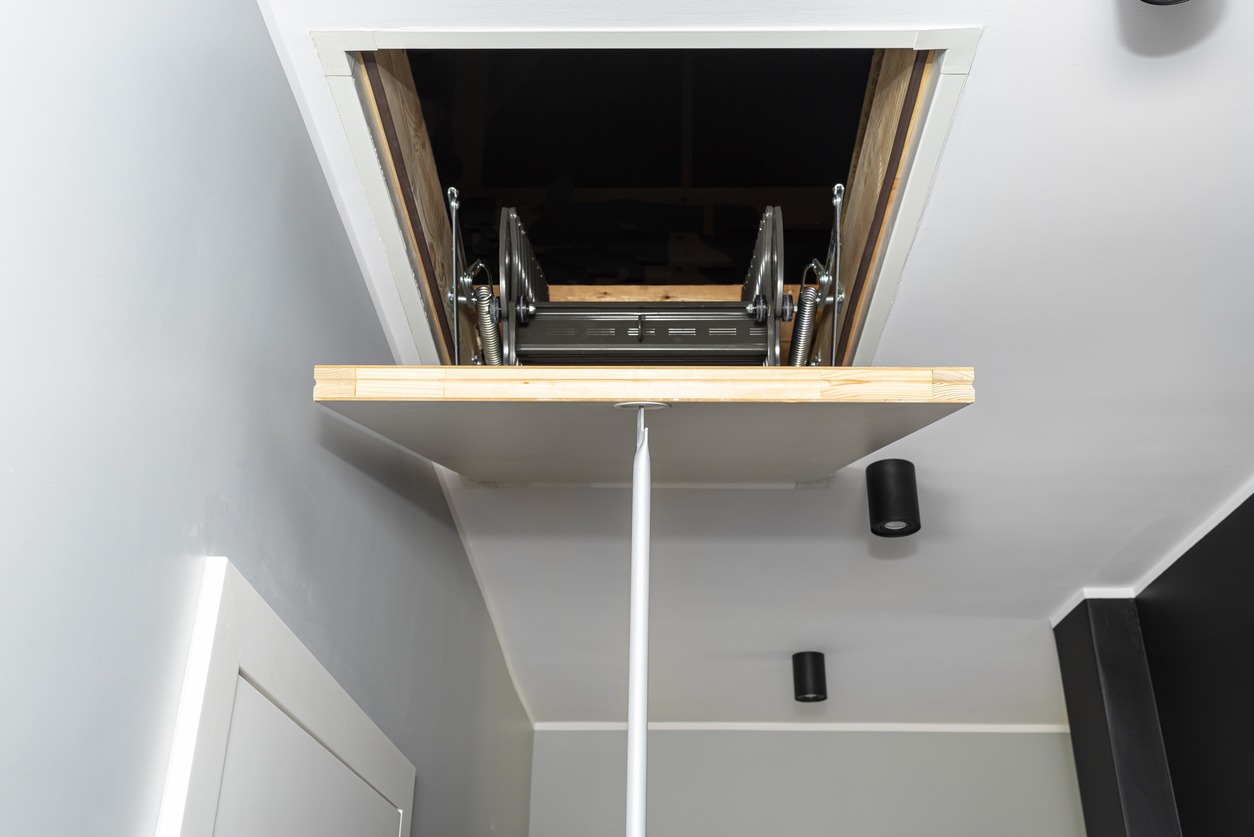
The attic access panel is often the largest single source of air leakage in a home. Because it is essentially a hole in your ceiling, a poorly fitted hatch allows warm air to rise directly into the attic like an open chimney. For this reason, it is a high-priority task to seal attic hatch openings before focusing on smaller, more hidden gaps.
Start by inspecting the hatch frame and surrounding trim. If you notice visible gaps, dust patterns (which indicate airflow), or loose edges, air is escaping. You can create an airtight seal with a few simple steps:
- Test Operation: Confirm the hatch still opens and closes smoothly without tearing the new seals.
- Apply Weatherstripping: Install thick, adhesive foam weatherstripping around the perimeter of the hatch frame where the panel rests.
- Check the Fit: Ensure the hatch sits heavily and tightly against the seal. If it’s too light, you may need to add simple latches to pull it down firmly.
- Insulate the Panel: Glue a piece of rigid foam board—at least two inches thick—to the top of the hatch cover so it provides a similar barrier to the rest of your attic insulation.
Step 3: Seal Plumbing Stacks And Small Gaps
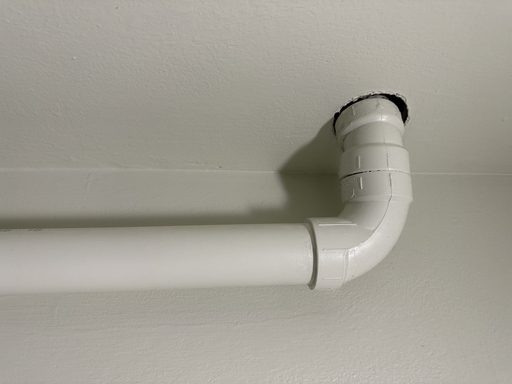
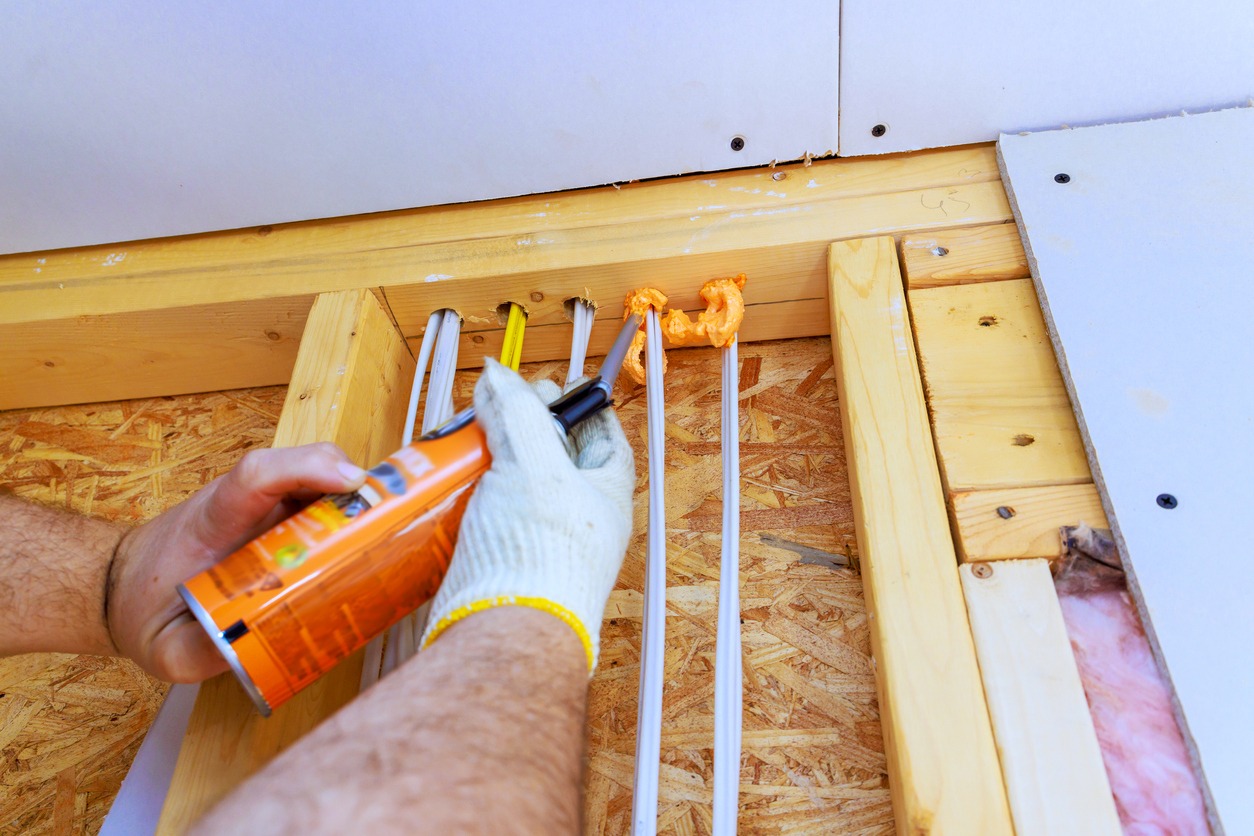
Plumbing vent pipes are a frequent source of air leakage. When these pipes pass through the ceiling, the hole is often cut much larger than the pipe itself. You can seal plumbing vent pipe attic gaps using expanding foam or high-quality caulking to close this direct path to the living space.
The steps in this process are:
- Clean the Area: Clear away dust or loose insulation from the base of the pipe.
- Apply Sealant: Use expanding foam for larger gaps and caulk for thinner cracks.
- Allow to Cure: Let the material dry fully before moving the insulation back into place.
Safety Guardrails:
- Avoid Hot Surfaces: Do not apply foam or caulk against hot exhaust vents (like furnace or water heater pipes).
- Know Your Limits: if an opening is unusually large or buried in a hard-to-reach corner, leave it for a professional.
Step 4: Safely Seal Around Pot Lights And Electrical Boxes

Lighting fixtures require the most caution of any attic task; new or old, they pose a fire risk when improperly sealed and covered. Before you begin, identify your fixture’s rating by checking the label inside the housing.
- IC-Rated (Insulation Contact): Engineered for direct contact with building materials and insulation.
- Non-IC Rated: Requires a mandatory 3-inch clearance to allow heat to dissipate safely.
Once you know the rating, the goal is to seal around pot lights in attic spaces by targeting the gap where the housing meets the drywall. This stops the air leak without touching the electrical components.
Safe DIY Actions:
- Drywall Gaps: Use a bead of fire-rated caulk to seal the perimeter where the light housing meets the ceiling drywall.
- Electrical Boxes: Seal wire entry points in plastic junction boxes with a small amount of caulk from the attic side.
- Maintain Clearances: For Non-IC fixtures, ensure all sealant and insulation stays outside the 3-inch safety zone.
Safety Guardrails:
- Avoid attempting any electrical repairs or modifications yourself while in the attic.
- Stop and call a pro if you encounter outdated “knob and tube” wiring, frayed insulation on wires, or fixtures that appear scorched.
Step 5: Identify Bath Fans Venting Into The Attic
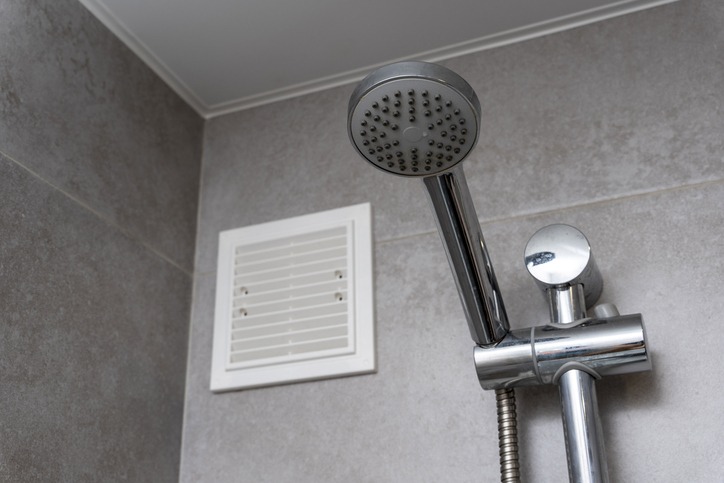
Bathroom fans should always vent directly to the exterior of the home, however if you live in an older home you may find find you have a bath fan venting into the attic. This introduces concentrated moisture into the roof structure and leads to rot or mold.
Signs of a problem:
- A duct that terminates inside the attic instead of connecting to a roof or wall vent.
- Damp insulation, localized mold, or water staining on the wood near the fan.
- Frost buildup on the underside of the roof deck during winter.
If you discover this issue, avoid correcting it yourself unless you are experienced with ventilation. Fixing the problem typically involves rerouting the duct to an exterior vent through the roof or wall. Because these systems interact with the roofing structure, this step is often best handled by professionals to ensure your roof remains watertight.
Step 6: Re-Check Soffit Airflow
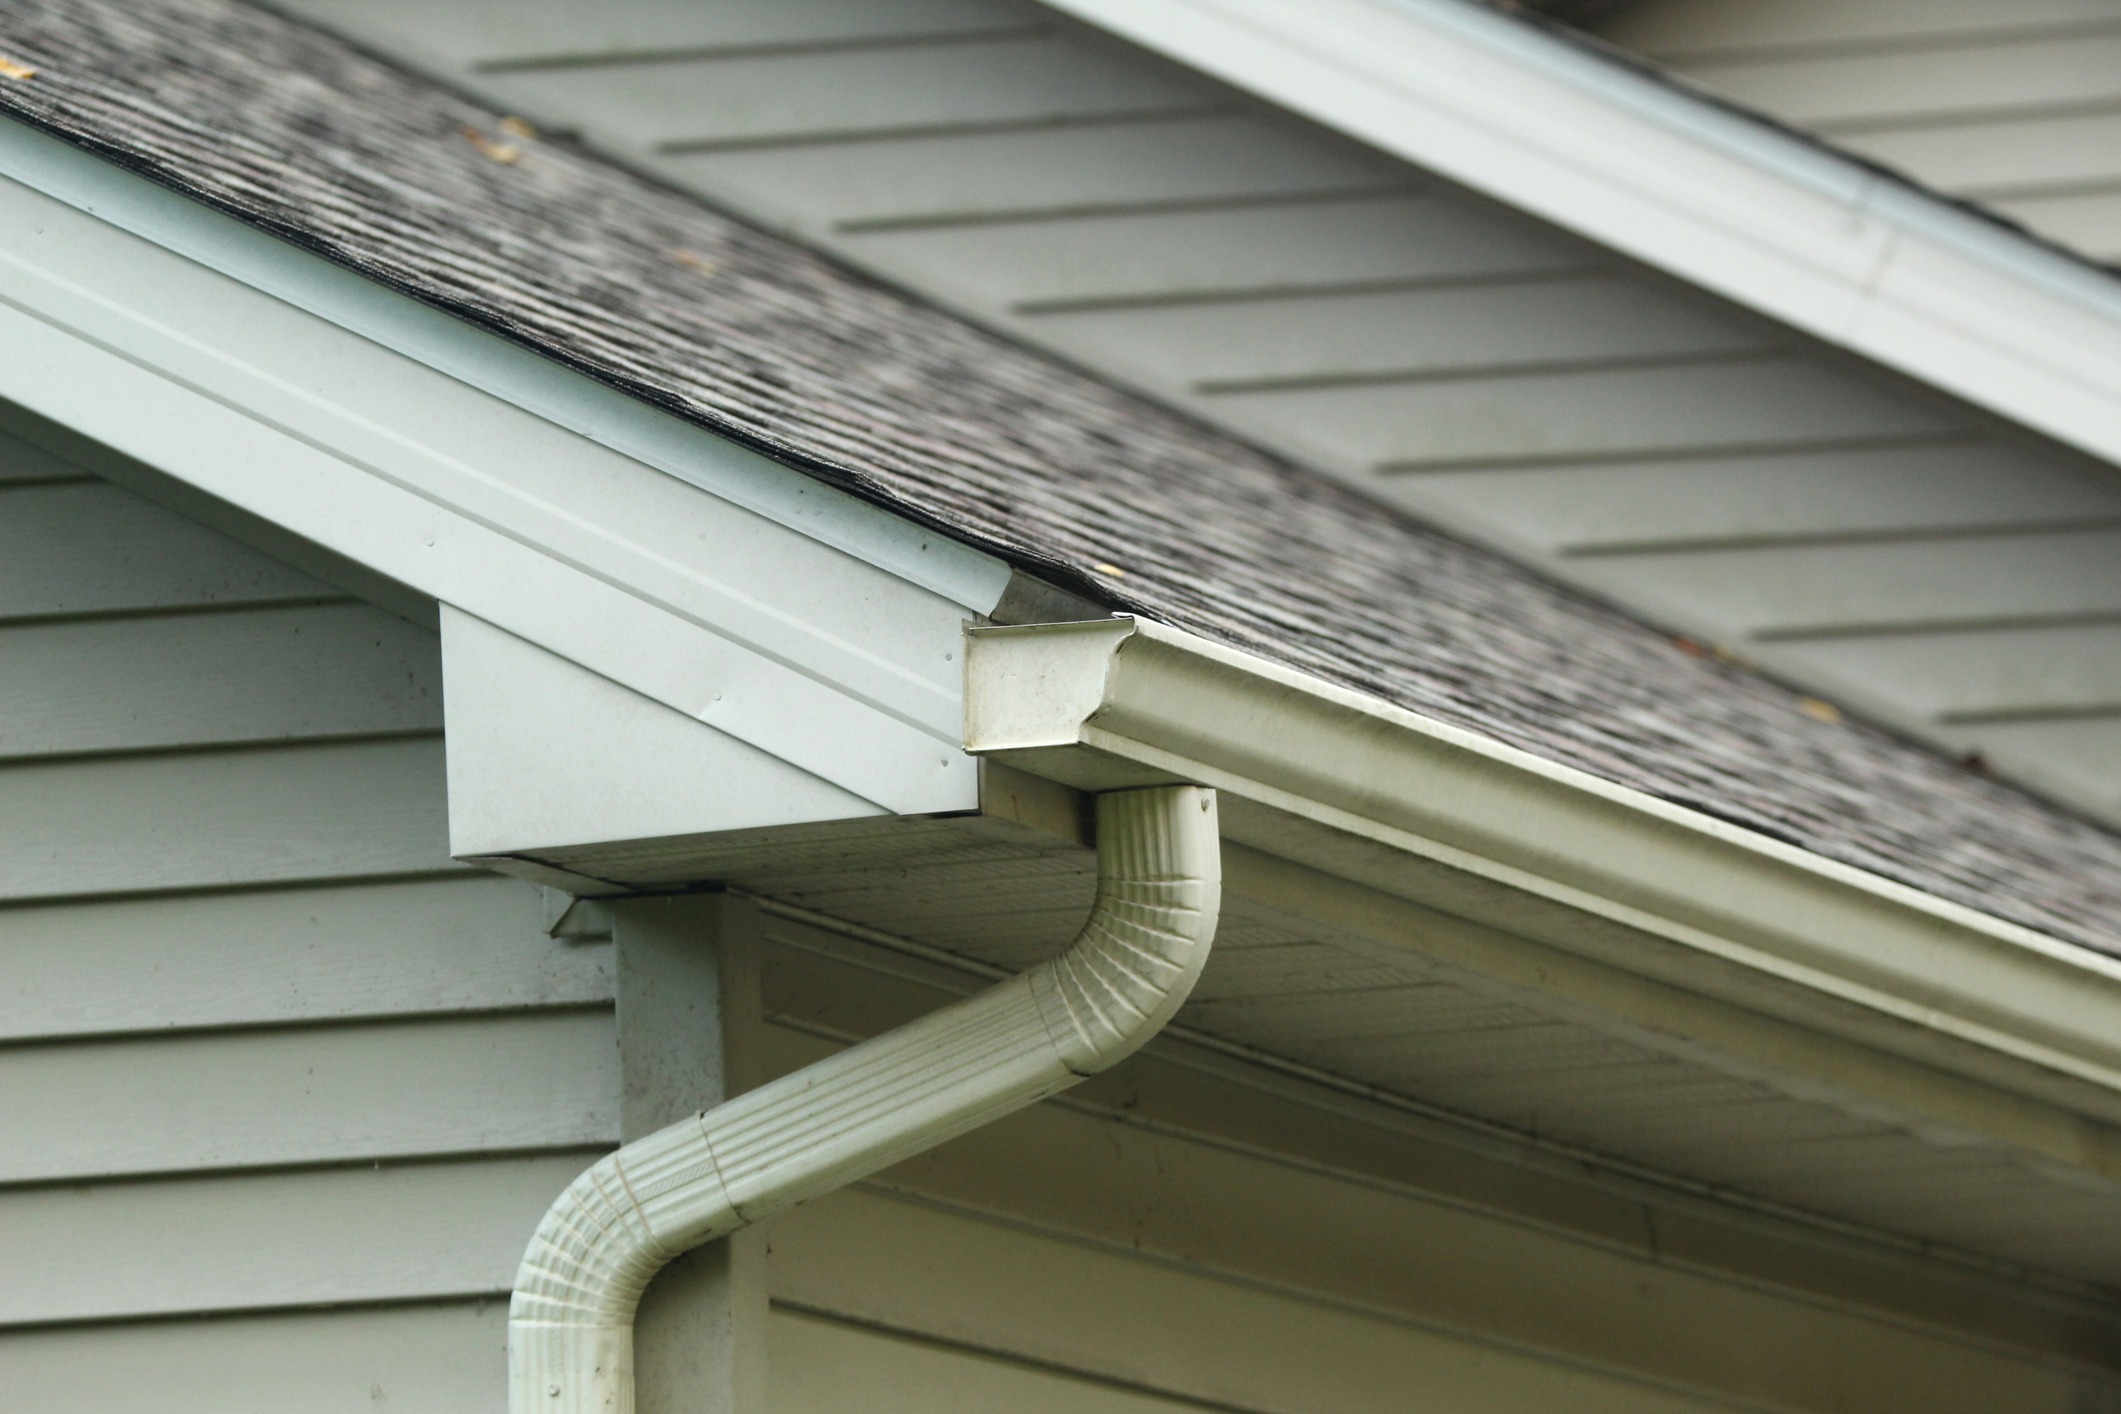
After sealing air leaks, you must confirm that your ventilation pathways remain open. While air should stay inside your living space, fresh air must also circulate through the attic to prevent moisture buildup and heat rot.
Check the soffit vents along the roof edges to ensure they aren’t obstructed by existing, shifted, or new insulation.
What to inspect:
- Insulation Coverage: Ensure insulation hasn’t been pushed over the soffit openings.
- Ventilation Baffles: Confirm these chutes are clear and unobstructed to maintain an air path from the eaves to the peak.
- Debris: Remove any dust or nesting material blocking the vents.
If insulation has moved, gently pull it back from the eaves. This ensures the attic remains healthy and properly ventilated before you consider adding more insulation.
When To Stop And Call A Professional
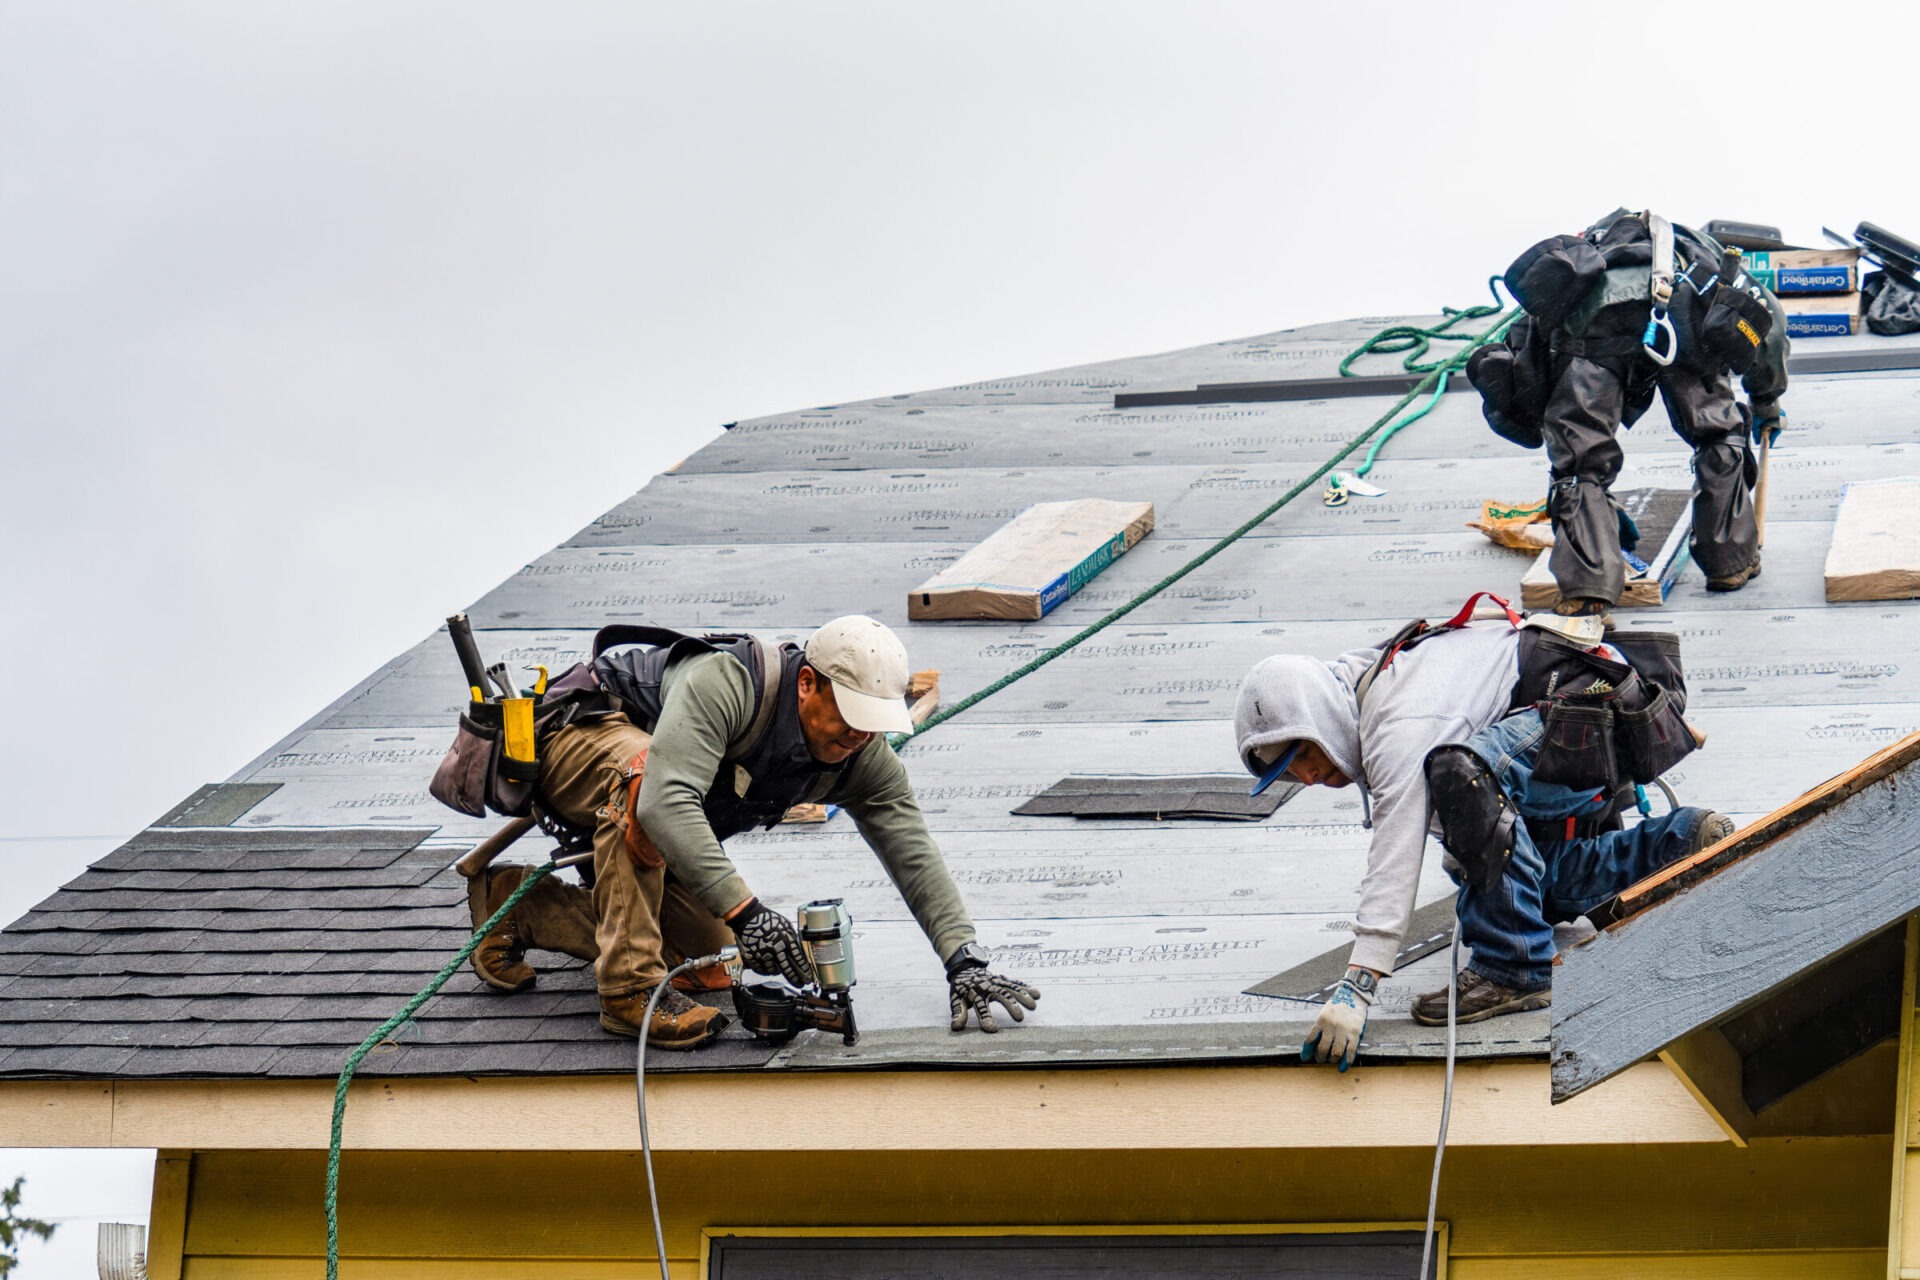
While many air sealing tasks are DIY-friendly, the attic is a complex system where insulation, ventilation, and air sealing must be perfectly balanced. At The Roofman, we provide professional oversight to ensure these upgrades don’t inadvertently cause moisture or safety issues.
Consider professional assistance if you:
- Encounter hazardous materials, such as asbestos insulation or outdated “knob and tube” electrical wiring.
- Discover structural damage, including mold growth, rotted wood, or large structural gaps.
- Find the space inaccessible or too cramped to navigate without risking damage to the ceiling or yourself.
- Want a performance guarantee that every hidden bypass is caught and sealed to professional standards before the final layer of insulation is blown in.
Beyond Air Sealing: Your Long-Term Attic Strategy
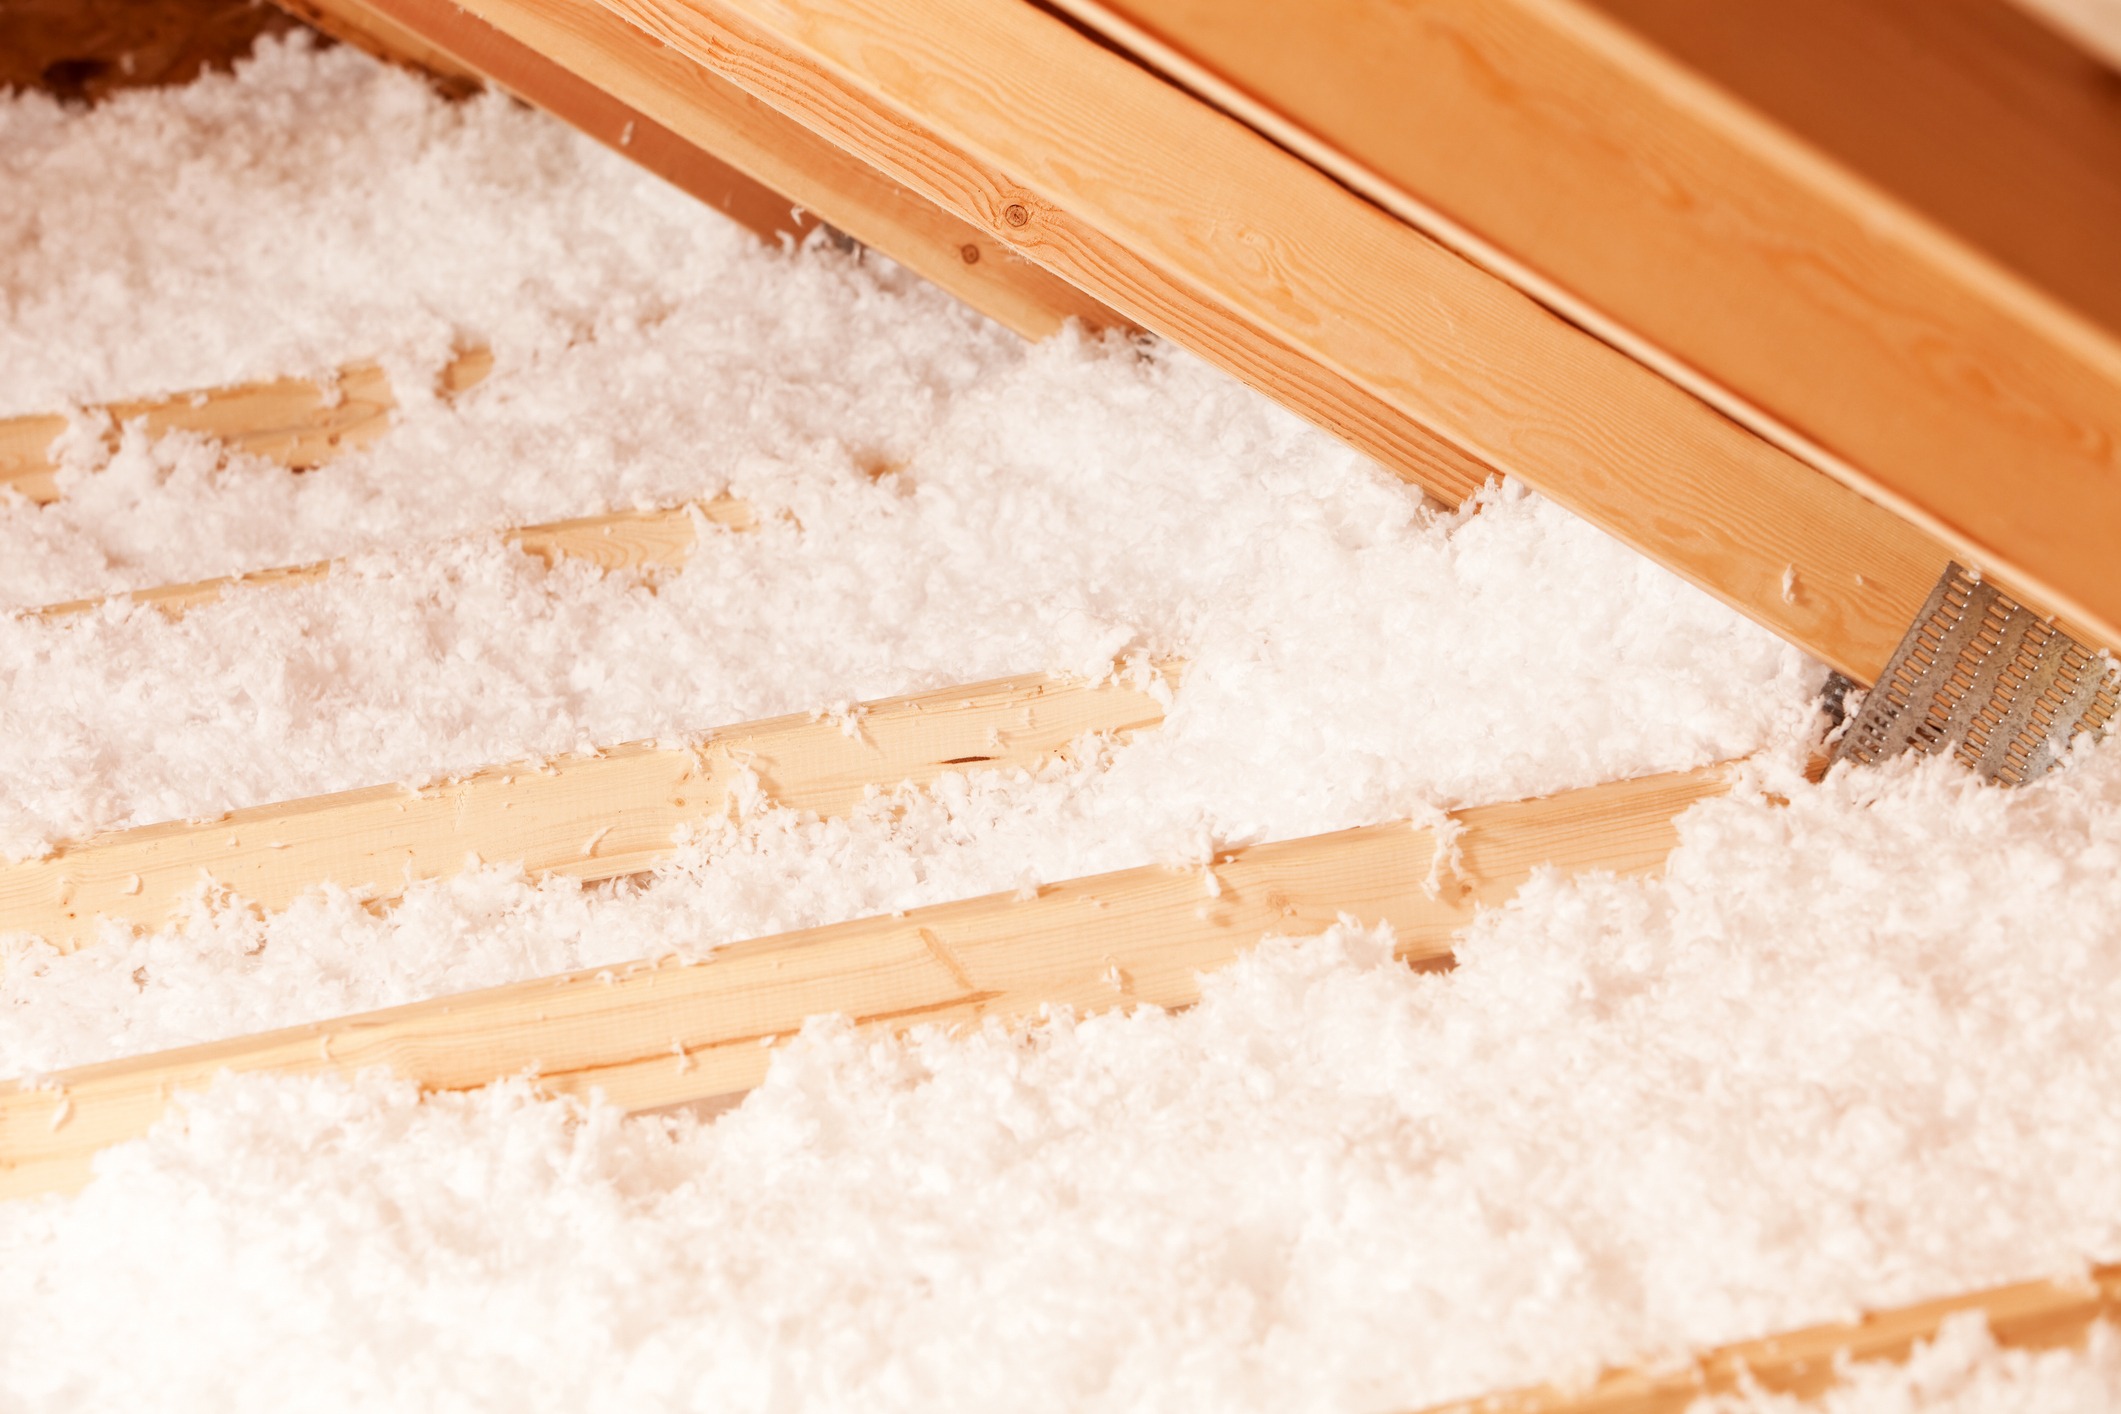
Once air pathways are sealed, any insulation upgrades you perform become significantly more effective. By air sealing your attic before insulating it, you help reduce heat loss, improve year-round comfort, and support the long-term performance of your roof system.
To see how these components work together, return to our full attic insulation and ventilation guide, which explains how insulation levels, ventilation design, and airflow control collectively protect your home.
If you would like a professional assessment or need help with these improvements, Request an Estimate from our team today.
Summary
Completing air sealing your attic before insulating it helps reduce airflow between your home and attic by closing gaps around pipes, wiring, and access panels. Addressing these bypasses ensures insulation and ventilation can work together more effectively.