Winter in the Kitchener–Waterloo Region can be hard on your home, bringing with it issues like frost in the attic, cold spots in the bedrooms, or heavy ice buildup along the gutters. When these issues come up, its easy to assume they are unrelated or that its a matter of your shingles failing. However, usually the real cause is not that simple; you are likely dealing with the symptoms of an imbalance between your attic insulation and ventilation.
When these two aren’t working together, the attic environment becomes unstable. This instability is what causes ice dams on roofs and leads to attic condensation in winter. In many cases, these issues are made worse by soffit vents that are blocked by insulation, which cuts off the airflow your roof needs to stay dry.
The good news is that these aren’t just “old house” quirks; they are solvable problems with a clear order of operations. This guide connects the dots between the surface-level roof problems you see and the hidden attic conditions causing them. From learning to spot the signs of poor attic ventilation to understanding why you should be air sealing the attic before insulating, you will come away with a “whole-home” picture instead of a piecemeal one.
Read on to learn how your roofing system works, how to stop the cycle of winter damage, and how to restore the home comfort you expect.
Quick Glossary: Roof and Attic Terms to Know

Before diving into the details, it helps to be familiar with a few terms that come up often in conversations about roof performance. Having these in your toolkit makes it easier to follow the “order of operations” a home needs to stay dry and comfortable.
Insulation Depth: The thickness of the insulation. This determines how well it resists heat flow (often called “R-Value” in technical manuals).
Baffles: Channels installed near the eaves to keep the airflow path open from the soffits into the attic. They prevent insulation from accidentally blocking intake vents.
Soffits: The underside of the roof overhang. This is where intake vents are typically located to allow fresh air into the system.
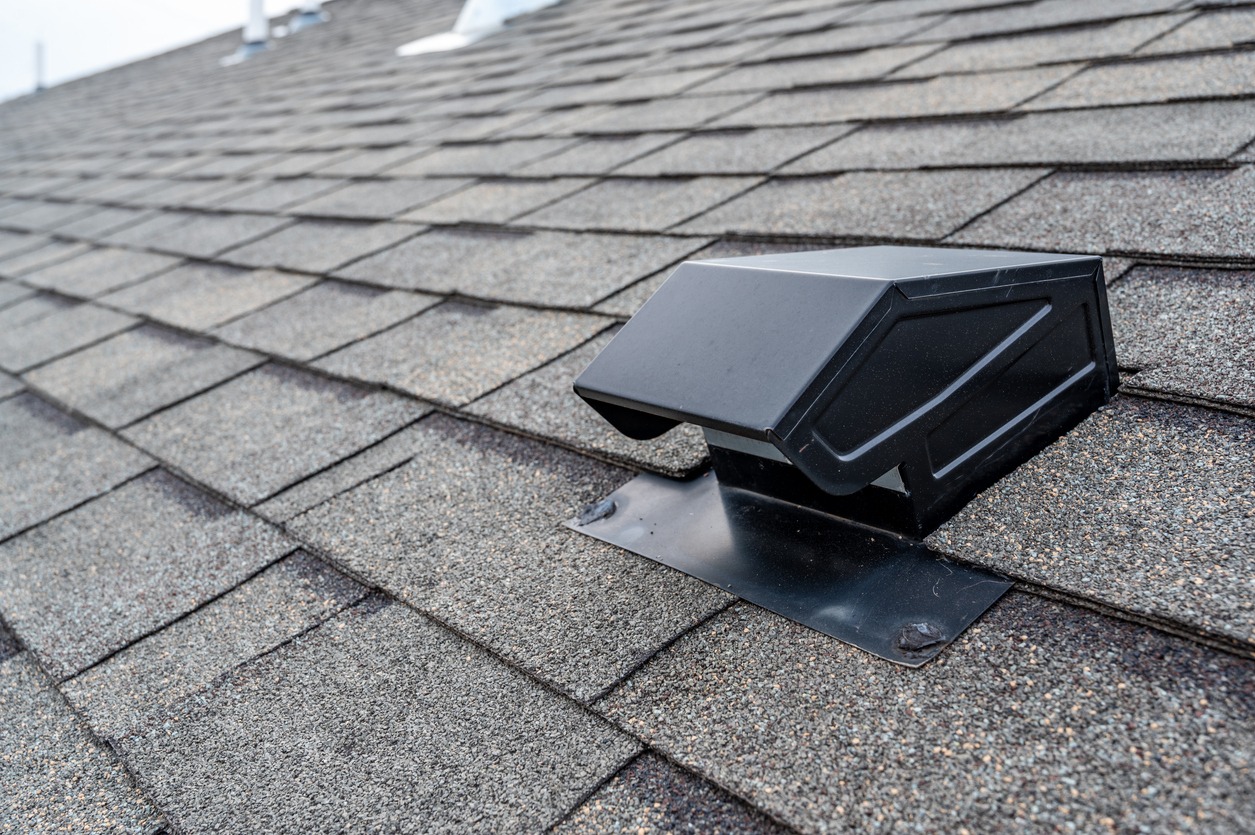
Ridge Vents: Exhaust vents installed along the very peak of the roof to let warm, moist air escape.
Vapour Barrier: A material (often plastic sheeting) designed to slow moisture from moving from the living space up into the attic.
What Does it Mean to Think of The Roofing System As A Whole?
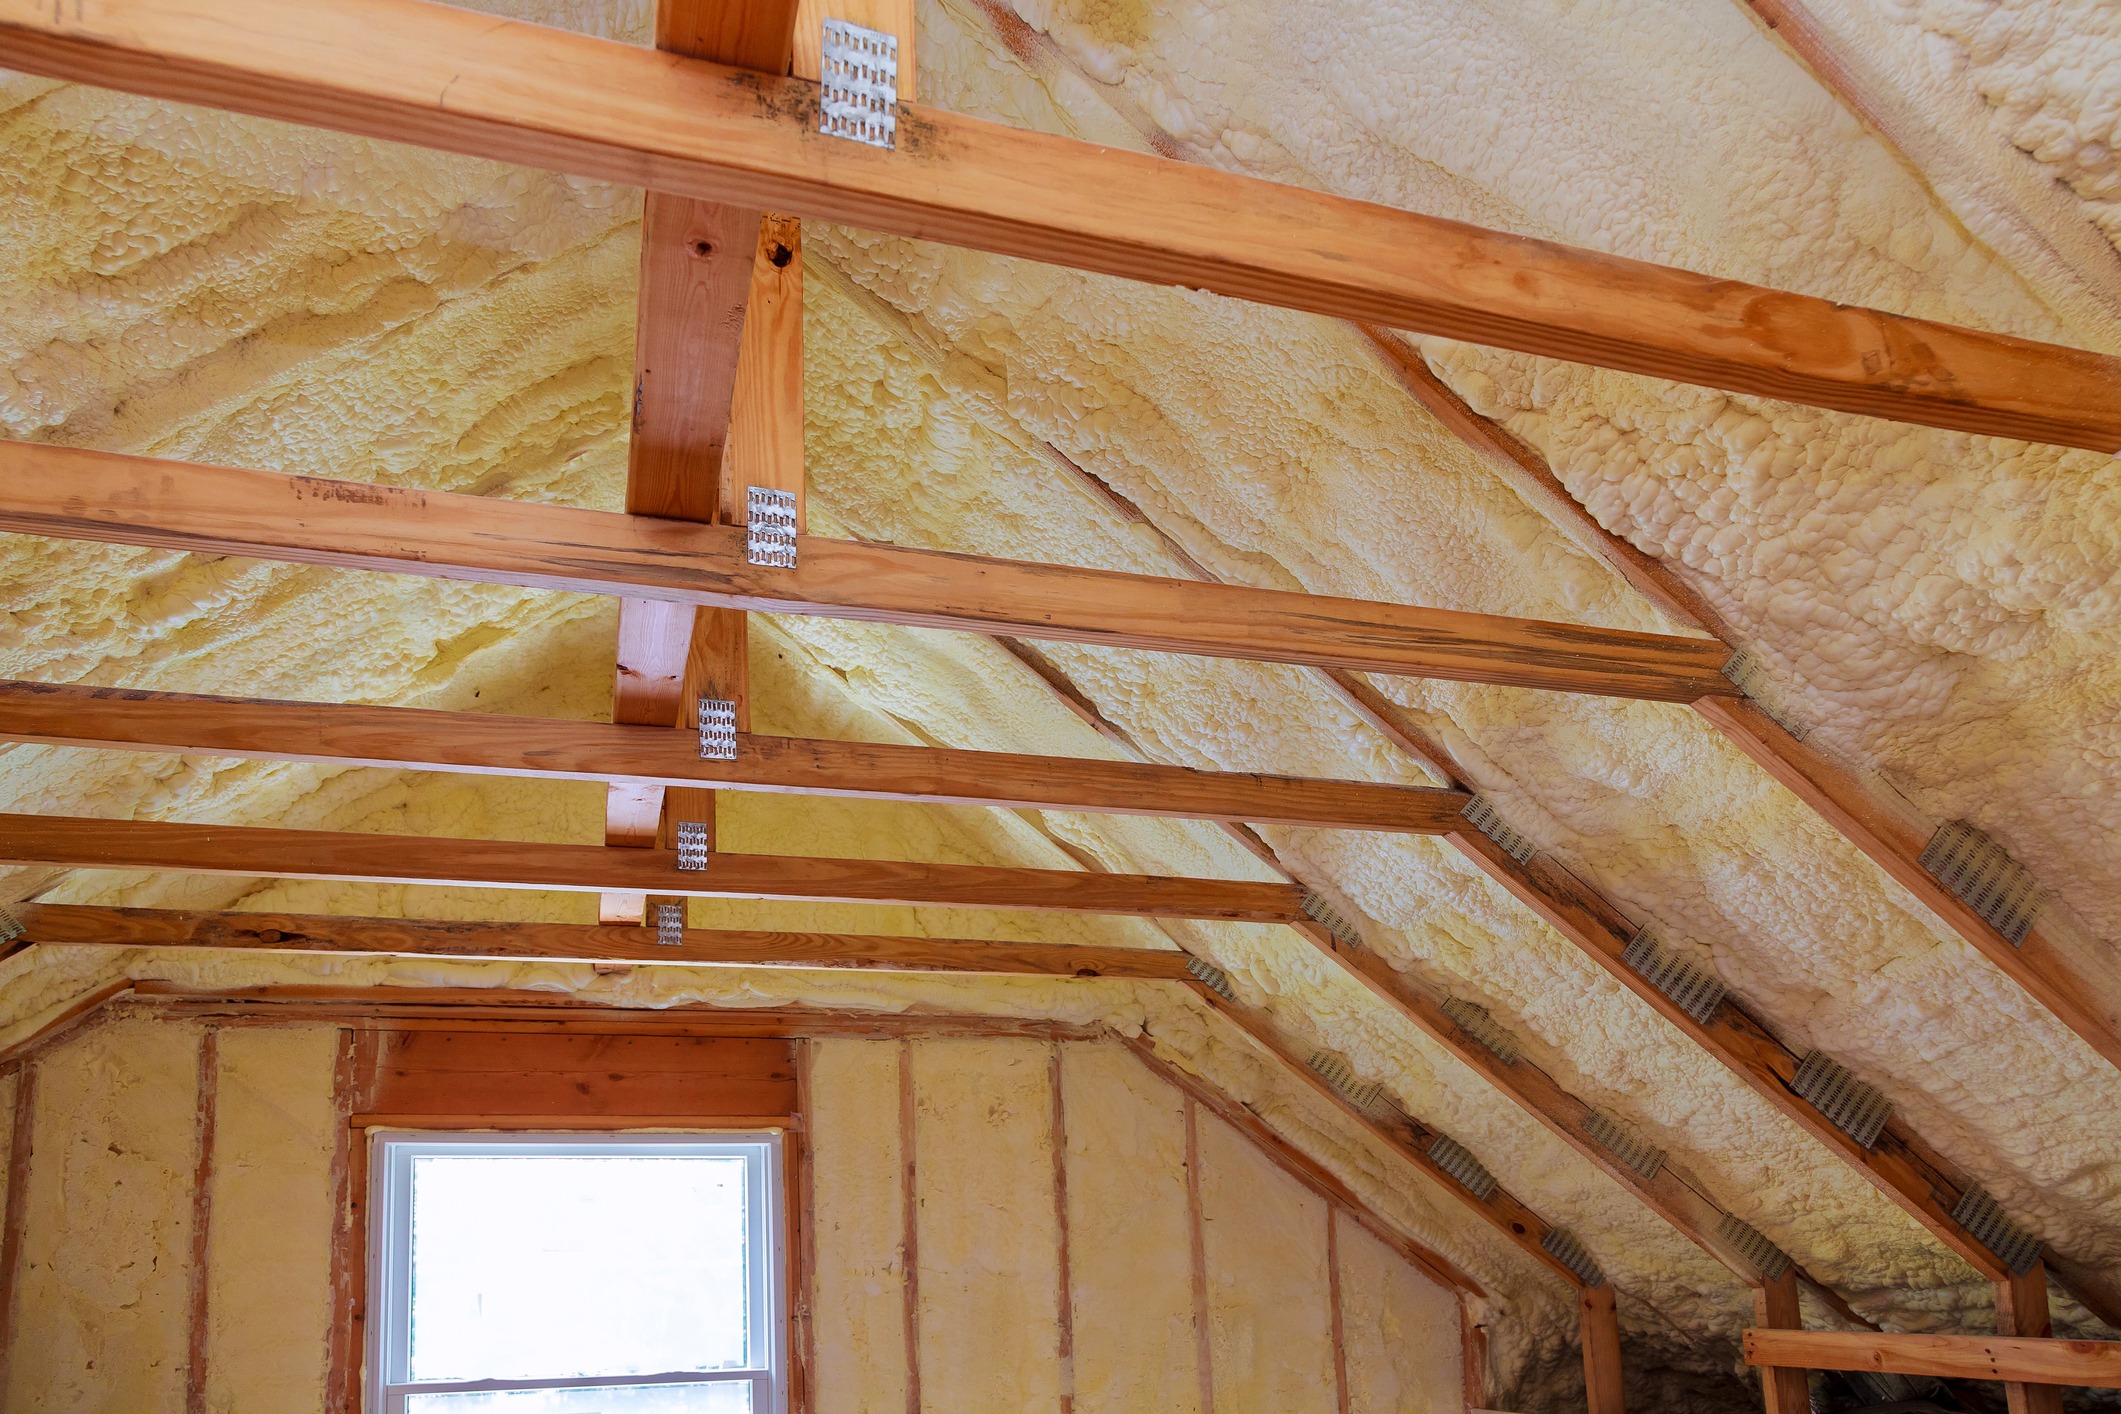
When you think about roofing, you probably picture shingles, flashing, and what’s visible from the driveway. But your roof’s actual performance is shaped by what’s happening underneath it. Your attic has a major impact on how your roof holds up; heat movement, airflow, and moisture control all start there. This is why it is important to treat the roof and attic as one integrated system rather than two separate areas.
For homeowners, this “whole-system” idea is easier to navigate when you break it down into how attic insulation and ventilation interact:
- Air leakage from the house sends warm, moist air into the attic.
- Insulation slows that heat from moving upward into the roof deck.
- Ventilation acts as the exhaust, moving any trapped heat and moisture out.
- Roofing materials act as the shield against the weather.
If one part of this chain is weak, the others have to work twice as hard. For example, high-quality insulation won’t solve a moisture problem if the airflow is stagnant. Similarly, a brand-new roof can still underperform if the attic conditions underneath are working against it.
In the Kitchener-Waterloo Region, where long winters and constant freeze-thaw cycles are the norm, these weak points show up quickly. What starts as a small attic imbalance can quickly turn into a major concern for your home’s comfort and durability.
Read next: 7 Ways Attic Moisture Damages Your Roof Over Time, which builds on this whole-system approach and helps explain how attic conditions can affect your roof over the longterm.
Attic Insulation And Ventilation: What Each One Does
It helps to think of attic insulation and ventilation as partners; they have two very different jobs, but they rely on each other to keep your home stable.
A simple way to look at it is this:
- Insulation manages heat flow (keeping it in the house).
- Ventilation manages airflow and moisture (keeping it out of the attic).
If you have plenty of insulation but the ventilation is weak, moisture can easily collect and cause damage. On the flip side, if you have great airflow but thin or uneven insulation, heat will still escape from your living space and warm up the attic deck.
Its common to see problems where insulation is added without checking the airflow path first. In some homes, new insulation gets pushed right into the eaves, causing soffit vents blocked by insulation. Once those intake vents are covered, the entire system struggles to breathe.
This is why we often suggest homeowners check out our Attic Insulation and Ventilation FAQs before making changes. A lot of common assumptions—like “more is always better”—can actually lead to incomplete fixes if the balance isn’t right.
When you address insulation, ventilation, and air sealing in the correct order, your attic has a much better chance of staying dry and consistent through every season.
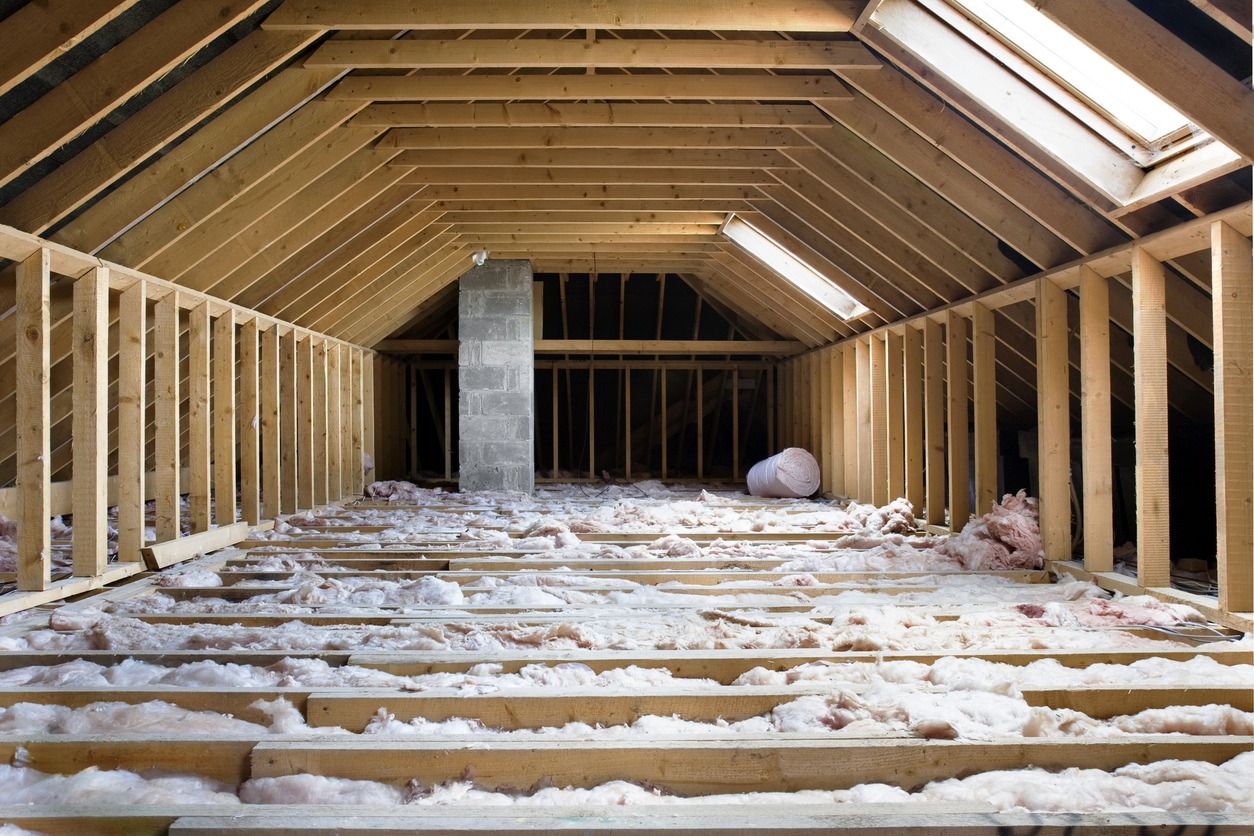
How Attic Ventilation Works: Intake, Exhaust, And Balance

To understand how attic ventilation works, it helps to picture your attic as a pathway for air movement. In most homes, fresh outdoor air enters through intake vents near the soffits. From there, it naturally moves upward and exits through exhaust vents near the roof peak, often at the ridge. This flow is what carries away excess heat and moisture before it can cause trouble.
The process sounds simple, but balance is everything.
If the intake is limited, the attic can’t draw in enough fresh air. If the exhaust is weak, stale air just lingers. However, the most common issue seen in homes is a broken pathway between the two. A classic example is soffit vents blocked by insulation. This usually happens when insulation is added right into the eave area without baffles to keep that air channel open. Once that intake path is cut off, the rest of the ventilation system simply can’t do its job.
For a healthy attic, you really need three things working in sync:
- Clear intake openings at the soffits.
- Proper exhaust openings near the roof peak.
- An unobstructed path between them.
If even one of these is missing, your attic will hold onto heat and moisture much longer than it should, which is often when the visible problems start to show up.
Signs Of Poor Attic Ventilation You Can Spot At Home

The signs of poor attic ventilation aren’t always dramatic. In many homes, they show up slowly and are often dismissed as just “part of owning an older house.” But these small clues are usually your attic’s way of telling you the system is out of balance.
You might notice:
- Ice buildup along the lower edge of the roof or in the gutters.
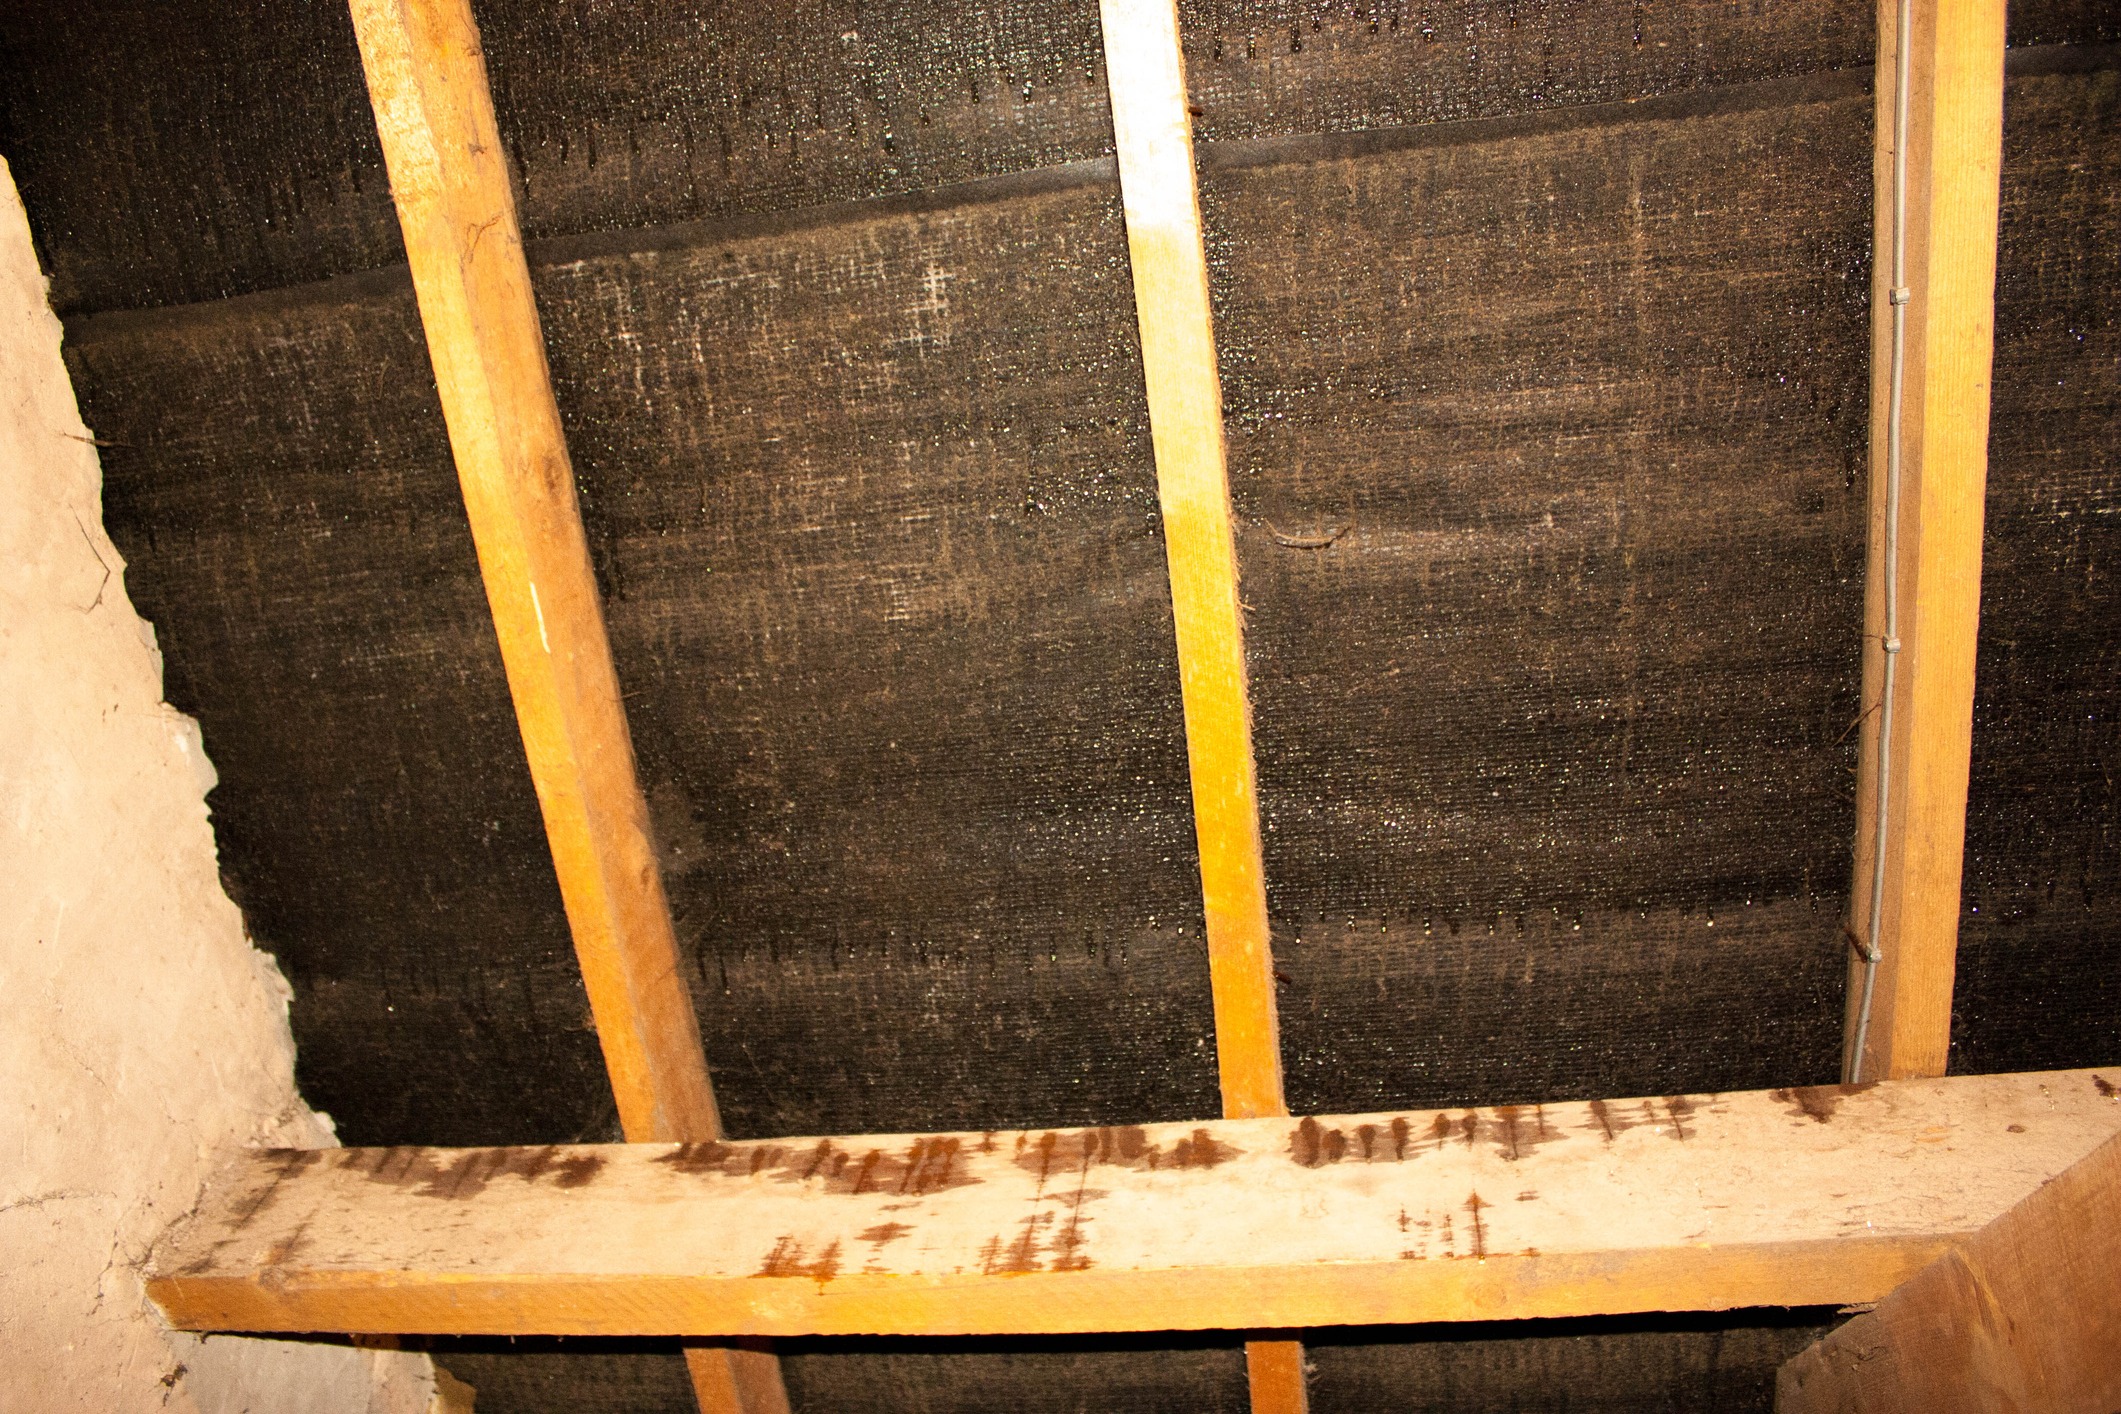
- Frost on nails or wood sheathing inside the attic during a cold snap.
- A musty or moldy smell near the attic hatch or in upstairs closets.
- Uneven temperatures, like a second floor that stays stubbornly chilly in winter or stuffy in summer.
- Wet or compressed insulation, which happens when moisture settles from above.
- Dark staining on the wood underside of your roof (the sheathing).
These warning signs point to trapped moisture, heat buildup, or restricted airflow. While they don’t always mean ventilation is the only issue, they are a clear signal that your attic system needs a professional look.
Sometimes the clues start indoors with high heating bills or uncomfortable rooms, while other times they show up outside as recurring ice issues. If any of these sound familiar, it’s worth digging a bit deeper. To help you spot these everyday clues before they turn into expensive repairs, read our blog 9 Signs of Poor Attic Ventilation Homeowners Miss.
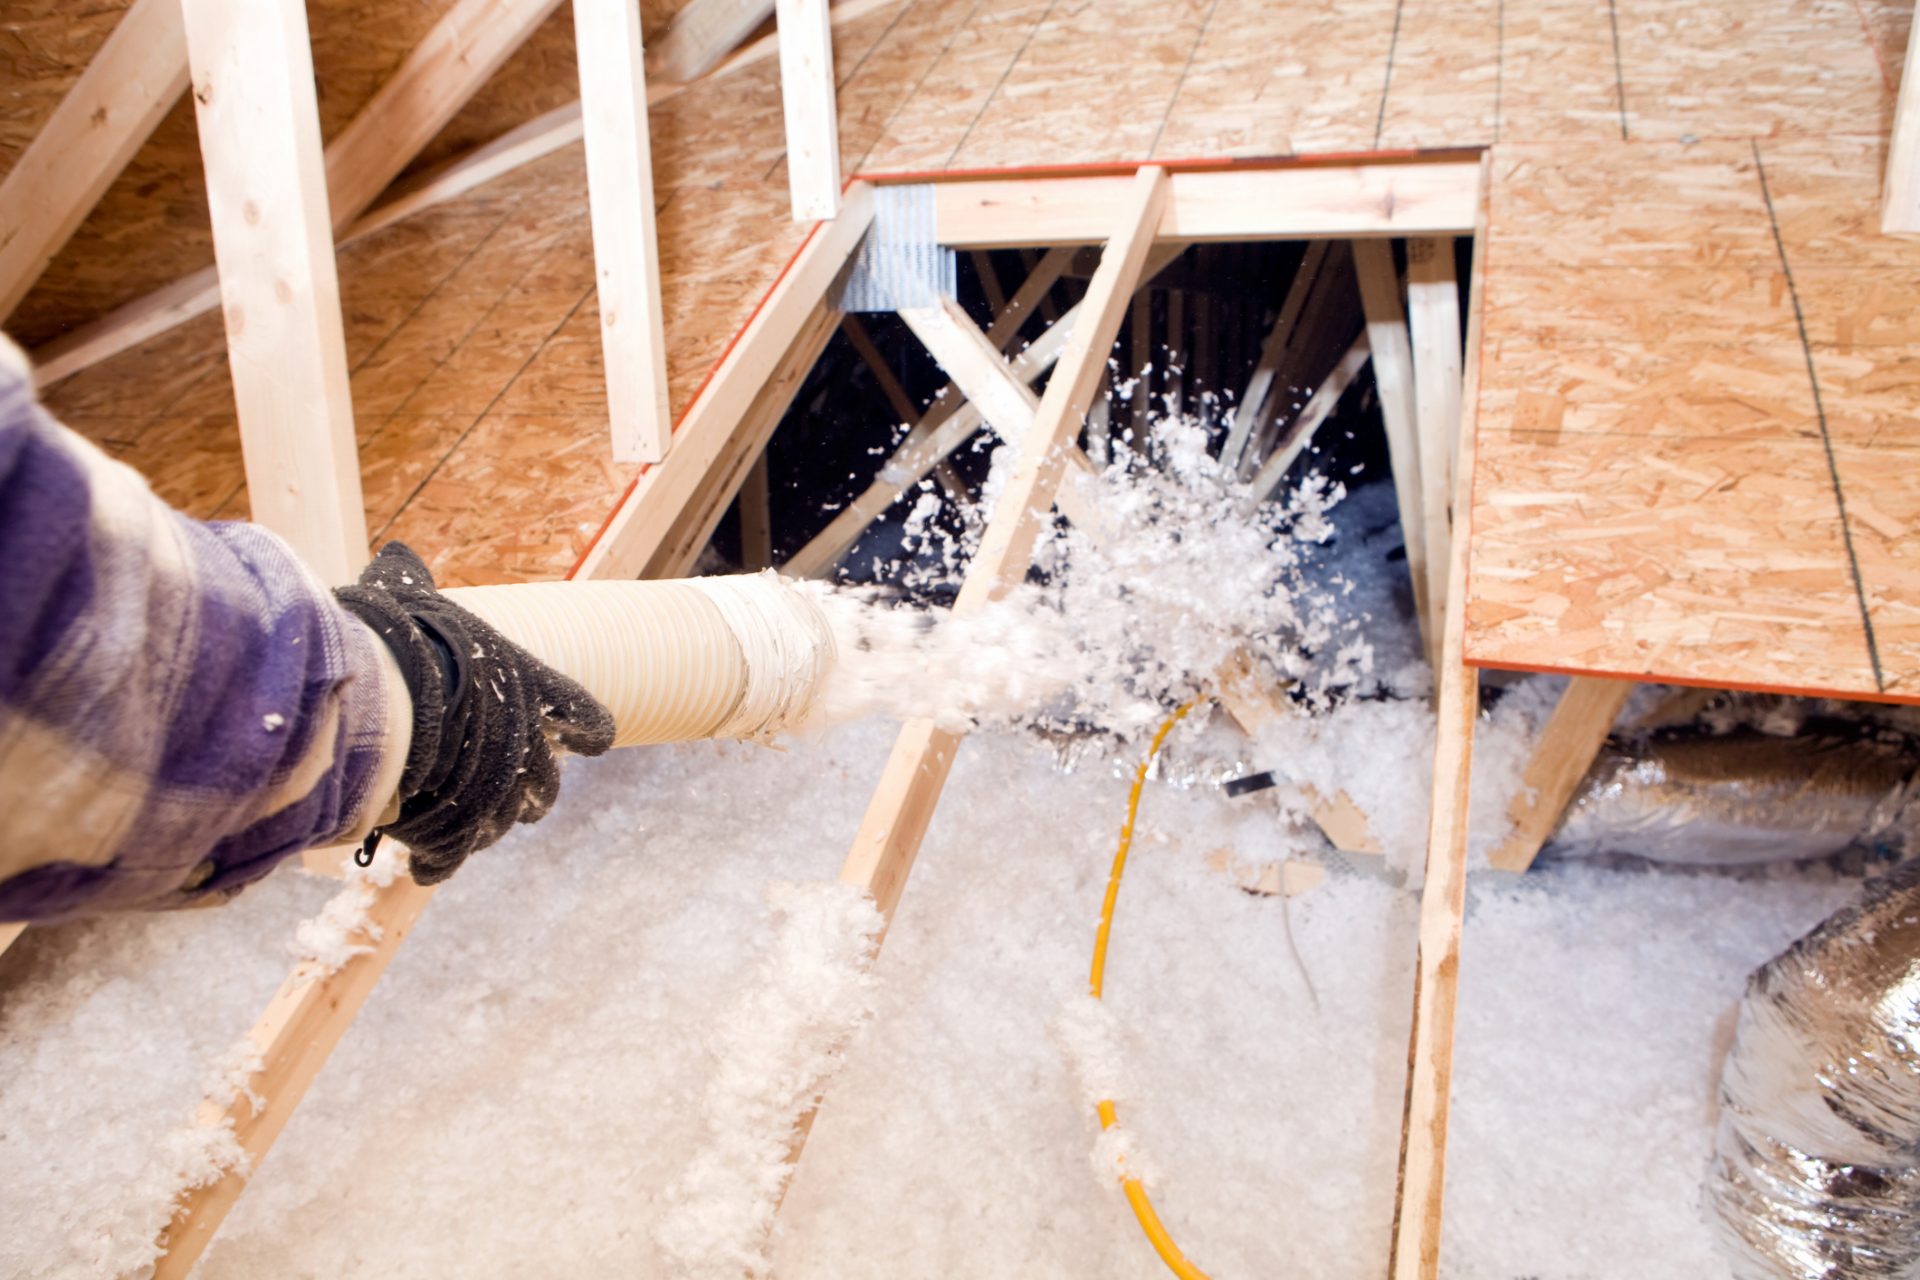
Air Sealing The Attic Before Insulating: Why Order Matters
One of the most critical steps in attic work is also the easiest to overlook: air sealing the attic before insulating.
Think of air sealing as “plugging the leaks” in your ceiling. It involves closing the gaps around wiring, plumbing stacks, pot lights, chimneys, and attic hatches. These small openings act like chimneys, letting warm, moist household air escape straight into the cold attic.
This matters because insulation alone won’t stop air from moving; it only slows down heat from escaping. If air is still leaking through the floor of your attic, moisture will eventually reach the cold underside of your roof and turn into frost. That is why the order of work is so important.
A professional plan usually looks like this:
- Identify and seal all air leakage points.
- Protect vent pathways at the soffits with baffles to ensure airflow.
- Add or correct your insulation depth to keep heat where it belongs.
- Confirm the attic still has a balanced flow of intake and exhaust.
Following this order helps your insulation do its job properly and significantly lowers the chance of moisture getting trapped after the work is done.
If you want to see exactly where these leaks tend to hide in a typical home, check out our guide on How to Air Seal an Attic Before Adding Insulation. It’s a great next step for homeowners who want to ensure their attic upgrade is done right the first time.
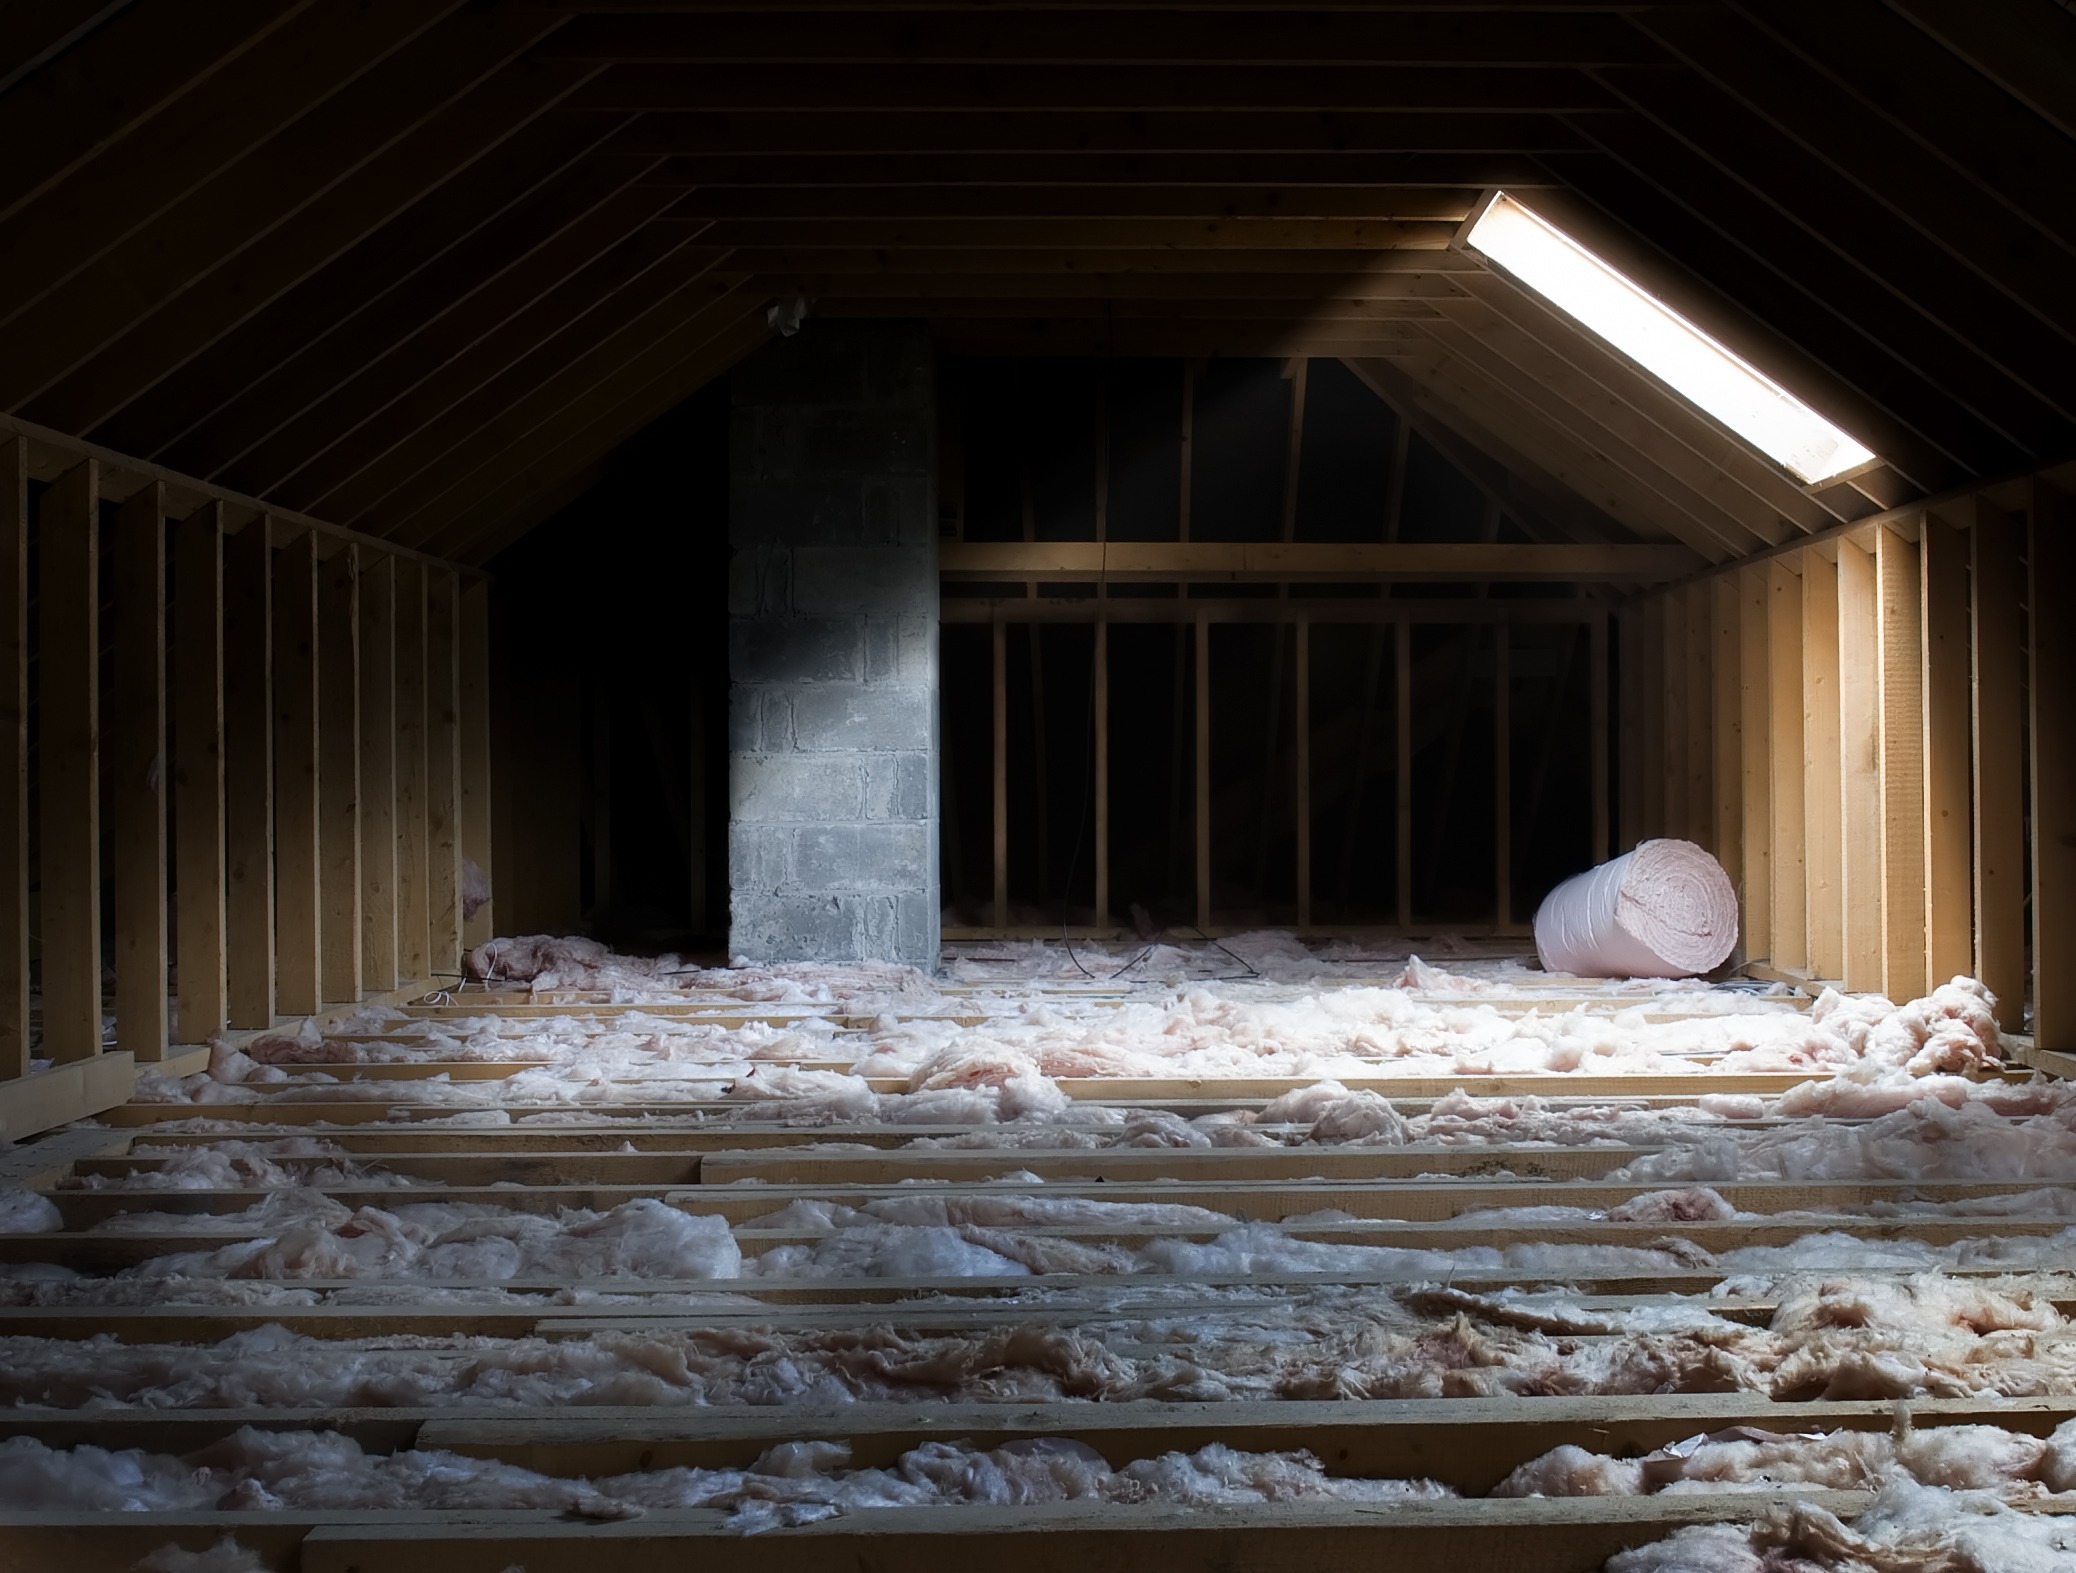
Attic Condensation In Winter: Why It Happens And What To Check First
Attic condensation in winter is a common issue in southwestern Ontario, and it often catches homeowners off guard. The process starts when warm indoor air rises into the attic and carries moisture from daily life—showers, cooking, laundry, and even breathing all add humidity to the air—and continues when that warm, moist air reaches a cold attic surface and condenses into liquid water.
In very cold weather, that moisture may freeze first and show up as frost on nails, roof sheathing, or framing. When temperatures shift, that frost melts and can drip onto the insulation below.
If moisture is visible, the first things to check are usually:
- Air leaks from the living space below (e.g. gaps around lights or the attic hatch).
- Bath fans that vent into the attic instead of through the roof.
- Blocked or restricted ventilation paths that trap damp air.
- High indoor humidity levels throughout the house.
- Damp or compressed insulation that has lost its effectiveness.
This is a clear example of why roof and attic issues are best looked at together. The moisture shows up in the attic, but the source often begins inside the home. For more on how this works, our blog Ice Dams and Attic Condensation FAQs can help explain what repeated moisture does to a roof over time.
What Causes Ice Dams On Roofs And How Attic Conditions Play A Role
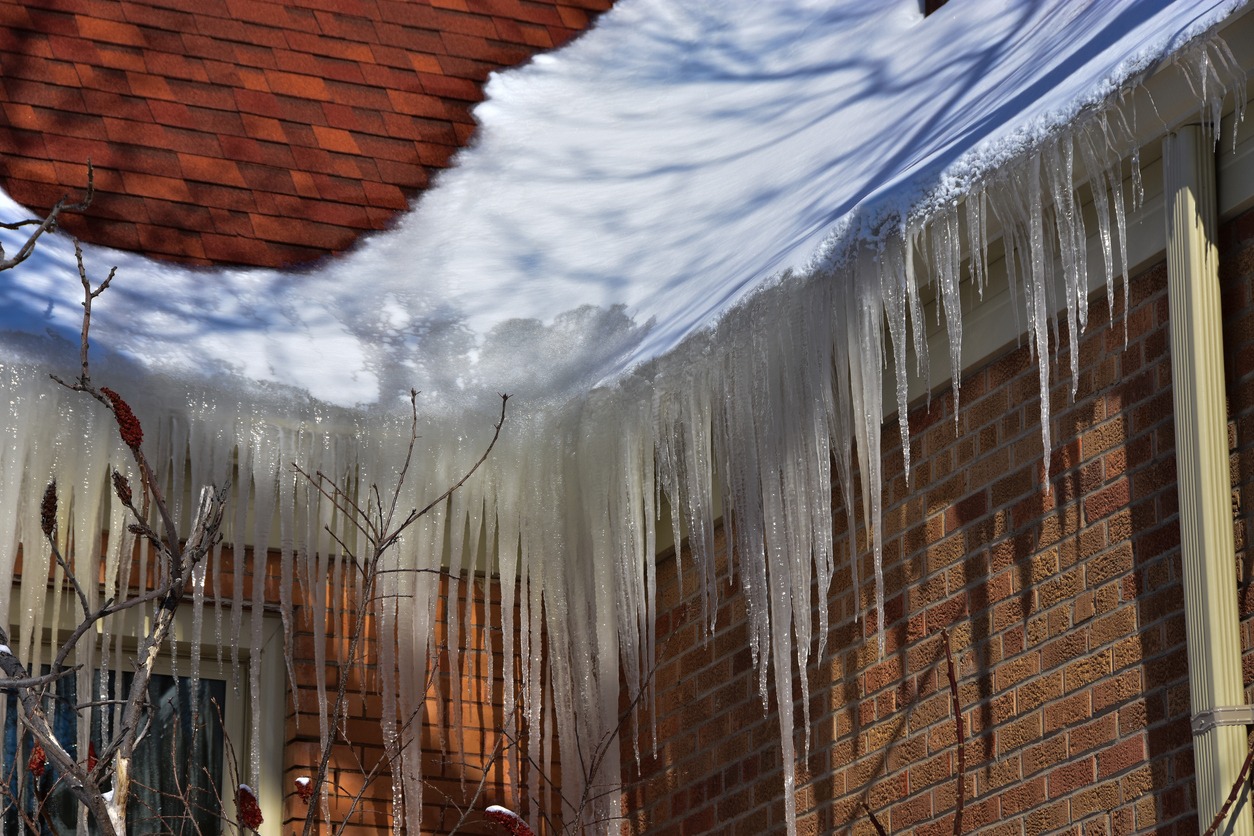
If you have ever wondered what causes ice dams on roofs, the short answer is uneven roof temperatures. When snow on the warmer section of the roof melts, the water runs downward until it reaches a colder section near the eaves. There, it refreezes into a ridge of ice. As this cycle repeats, the ice builds up and can begin to hold back water, eventually forcing it under the shingles.
Attic conditions often play a major role in that cycle. When heat escapes from the house, it warms the roof deck from below. Uneven insulation, air leakage, and weak ventilation can all contribute to a roof surface that does not stay consistently cold.
Common contributing factors include:
- Air leaks from the living space through unsealed gaps.
- Thin or uneven insulation that allows heat to radiate upward.
- Poor airflow through the attic that fails to flush out trapped warmth.
- Warm spots caused by ceiling penetrations or unsealed openings.
Ice dams do not always mean the roofing materials are failing. More often, they are a sign that the attic system is letting too much heat reach the roof deck. For more on how to manage these winter issues, it helps to review our Ice Dams and Attic Condensation FAQs, which covers the most common questions homeowners have about protecting their roofs during a freeze-thaw cycle.tarts.
Common Attic Trouble Spots: Bath Fans, Pot Lights, Attic Hatches, Ductwork
In many homes, attic issues tend to start in the same few places. These trouble spots matter because they either allow indoor air to escape or interfere with the airflow your roof needs to stay durable.
The most common areas to check include:
- Bath Fans: These should always vent directly outside. If they discharge into the attic space, they add moisture to the air every time someone showers.
- Pot Lights: Especially in older homes, these can act like small chimneys, allowing warm air to leak into the attic around their housings.
- Attic Hatches: This is often a major weak point; gaps around an unsealed or uninsulated cover let warm house air rise directly into the attic.
- Ductwork: If ducts are disconnected, poorly sealed, or missing enough insulation, they can dump heat right where you don’t want it.
Then there is the eave area, where soffit vents blocked by insulation often become a hidden problem. If insulation is packed too tightly into the corners of the roof without baffles, intake air can be reduced or stopped altogether. When several of these weak points exist at once, the attic environment becomes much harder to control, and the “whole-system” balance is lost.
What A Professional Attic And Roof Assessment Typically Includes (And Why A Dedicated Project Manager Helps)
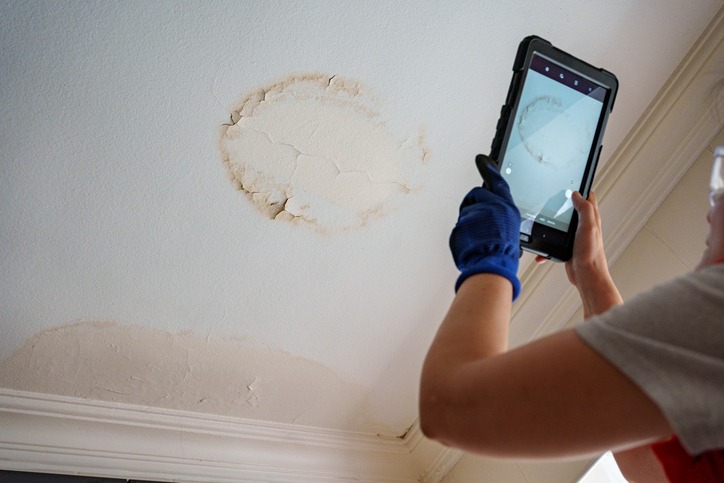
When attic concerns keep returning, a full assessment provides a clearer path forward than tackling one symptom at a time. Because moisture, airflow, and insulation gaps often overlap, a professional look finds the root cause by evaluating the whole system.
A typical assessment covers:
- Ventilation: Reviewing intake and exhaust to ensure the attic has a clear path to breathe.
- Insulation: Checking depth and coverage to identify where heat is escaping.
- Air Leakage: Finding the hidden gaps where house air enters the attic.
- Moisture: Inspecting the roof deck for frost or signs of past condensation.
- Roof Condition: Connecting what’s happening in the attic with the state of the shingles outside.
A calm, organized process makes a big difference here. When a dedicated project manager handles the evaluation, you get a single point of contact to explain these findings so you aren’t left trying to piece together a solution on your own. This thoroughness is what sets a professional evaluation apart—ensuring you have a clear, documented plan that addresses the root cause of the problem before any work begins.
Seeing Your Roof System As A Whole
A roof is not an isolated feature; it is an integrated part of a home’s structure. What happens in the attic directly affects daily comfort and moisture levels inside the living space, which in turn determines the long-term condition of the shingles above.
When attic insulation and ventilation are viewed as parts of the same system, common problems start to make more sense. Issues like moisture, frost, musty smells, and ice buildup are usually connected by the same underlying issues: air leakage, thin insulation, or poor airflow.
Taking a “whole-system” view helps move past the guesswork. It provides a practical way to understand what a home is showing you and where to focus first. When professional help is needed, a detailed assessment with clear communication makes those next steps feel much more manageable.
If you’re ready for a clearer look at how your roof and attic are working together, we can help. Request an estimate today to start with a professional assessment and a steady, organized plan for your home.
Summary
If you are dealing with winter moisture, cold rooms, or roof ice, the answer often starts in the attic. When insulation and ventilation are balanced and supported by proper air sealing, a home is much better equipped to stay dry, comfortable, and protected for years to come.